Ryan McDonough
Founder, Sometime Artist
CFO and co-founder @Accompany, acquired by @Cisco. Turnaround CFO @Ning, sold to Glam Media. Former seed VC. McKinsey trained. @Wharton School and @Haas School of Business.
CFO and co-founder @Accompany, acquired by @Cisco. Turnaround CFO @Ning, sold to Glam Media. Former seed VC. McKinsey trained. @Wharton School and @Haas School of Business.
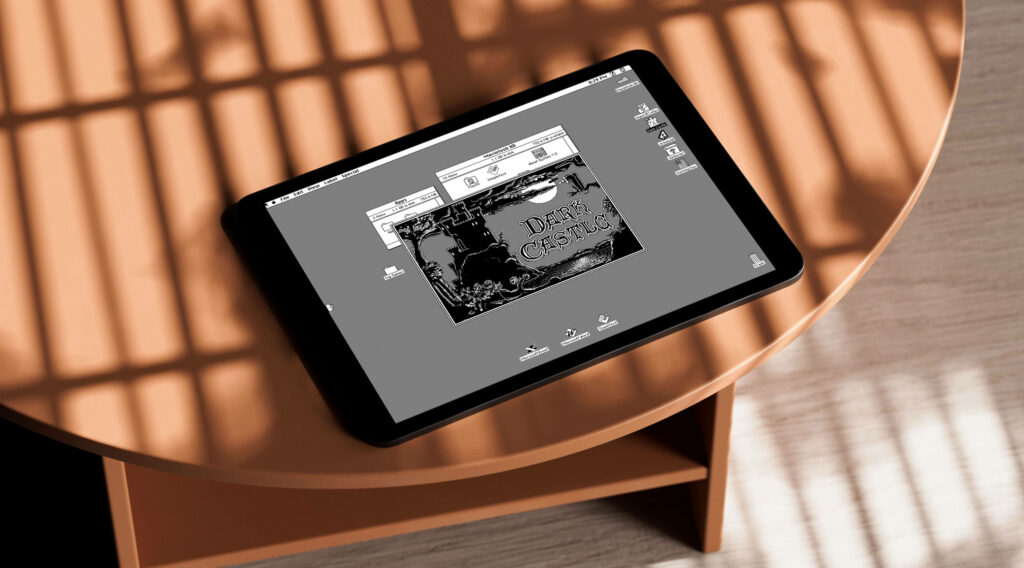
Let’s be honest: firing up a 1984 Mac on an iPad is the geek equivalent of discovering a DeLorean in your garage. It might not be purely practical, but it’s a stellar way to preserve digital history, indulge your inner Apple nerd, and surprise your friends who think you’re just playing Candy Crush. Plus, if you’ve followed me this far, you know that tinkering is half the fun.
Before we dive in, let’s gather our supplies. Don’t worry, the list is fairly short:
We’re going to work from a GitHub repository that’s been lovingly maintained for iOS by Jesús A. Álvarez (see https://github.com/zydeco/minivmac4ios). It’s based on Mini vMac that I’ve covered in earlier Mac builds.
git clone https://github.com/zydeco/minivmac4ios.git
This pulls down all the magic behind Mini vMac on iOS. Once it’s done, hop into the minivmac4ios directory and open the project in Xcode:
					cd minivmac4ios
git submodule update --init --recursive
open "Mini vMac.xcodeproj"
This pulls down all the magic behind Mini vMac on iOS. Once it’s done, hop into the minivmac4ios directory, download the necessary additional resources, and open the project in Xcode.
We’re going to work from a GitHub repository. Once you’re in Xcode, plug in your iPad and select it from the device dropdown at the top. It might say something like “iPhone 15 Pro” by default—just click and switch to your iPad. Next, open the project’s settings and tweak the following:
com.zydeco.minivmac to something like com.yourname.minivmac. It can be any unique string—Xcode just wants to ensure no identity crises.Hit that big, friendly “Play” (Run) button in Xcode’s toolbar. It’ll compile all the code, and after a bit of whirring and thinking, it should send the app straight to your iPad’s home screen. If you run into a prompt asking for your Mac’s admin credentials, just give it the green light.
This is that slightly eyebrow-raising step Apple makes you do. On your iPad, pop open Settings > General > VPN & Device Management. Find your developer account under “Developer App,” tap it, and hit Trust. Your iPad is basically saying, “Okay, I know who you are, we’re cool.”
Without the ROM, Mini vMac is like a stage without actors. You need that original Macintosh ROM to bring the show to life. I think that this point, you clearly know how to Google and can find one.
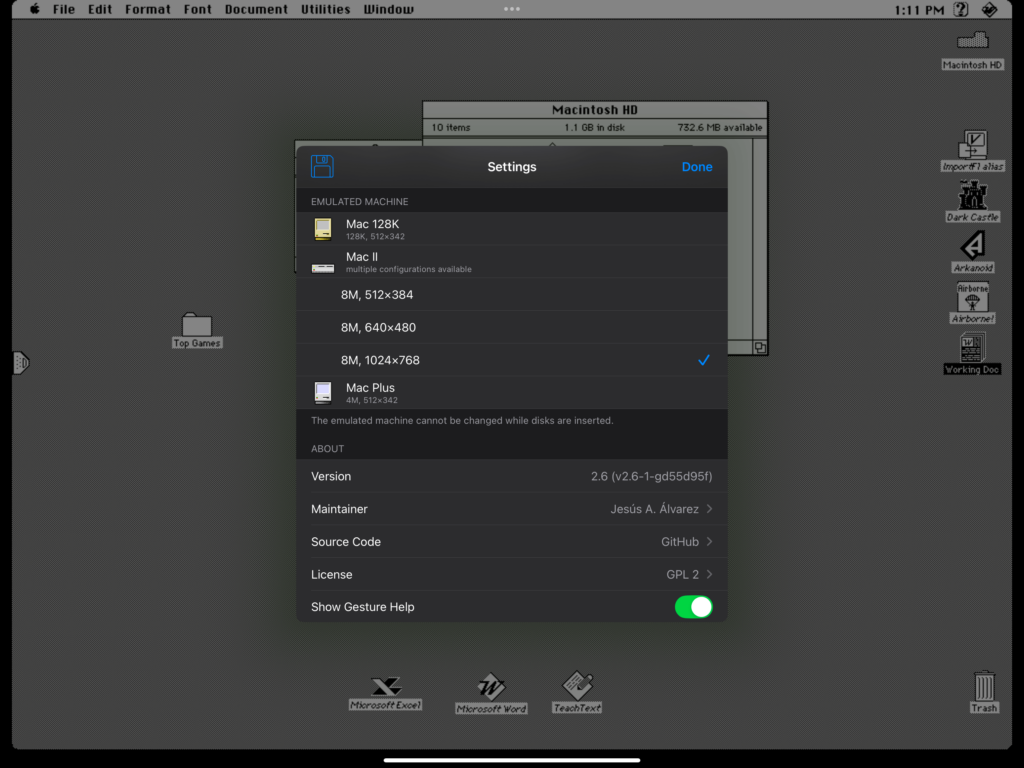
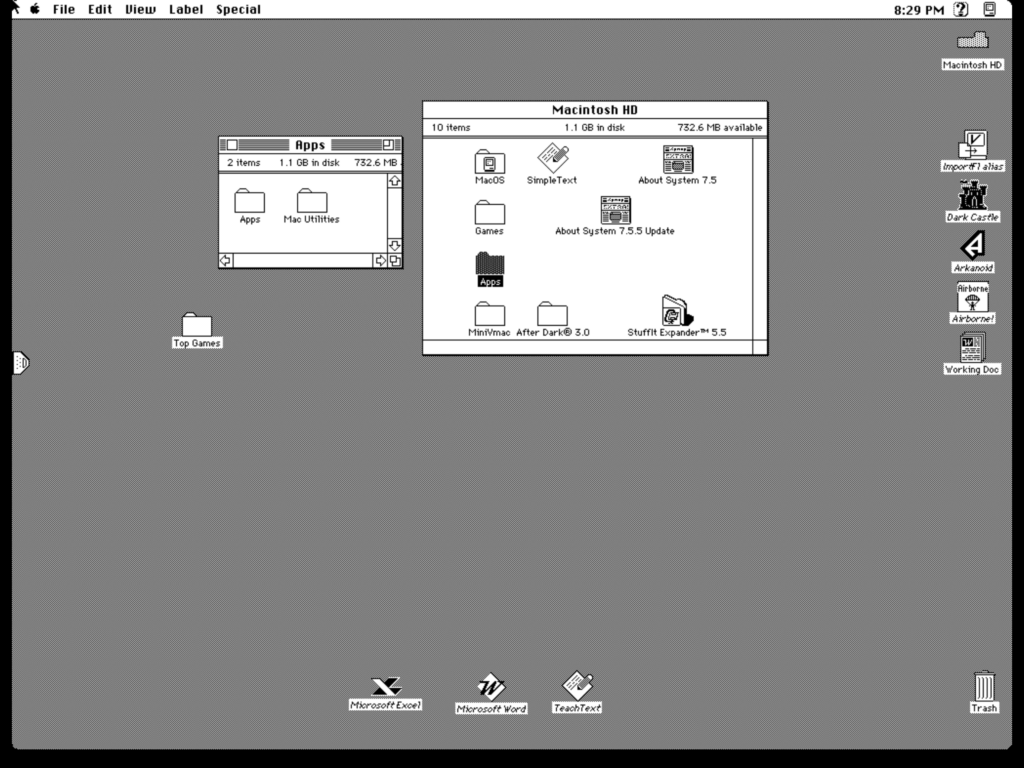
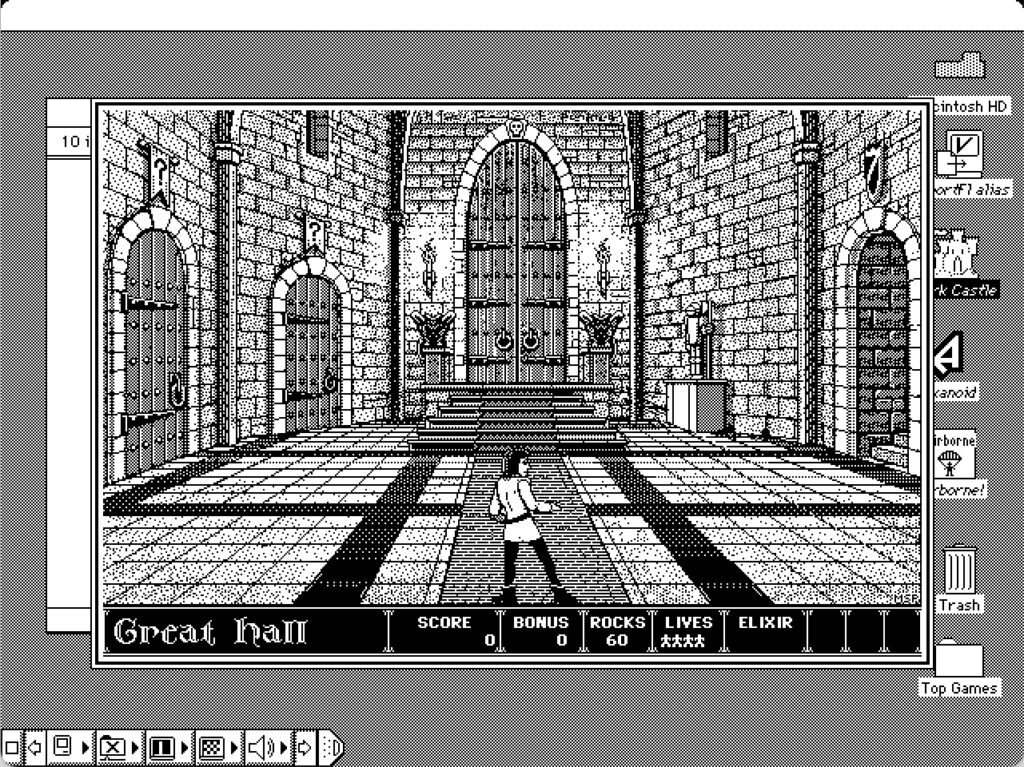
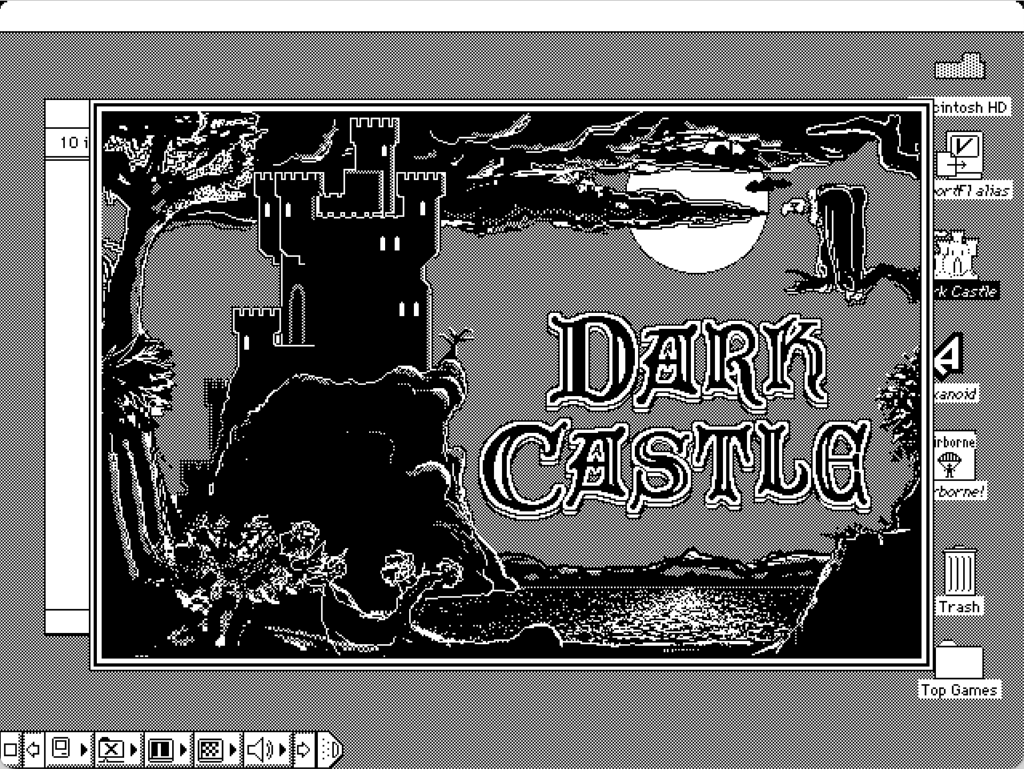
vMac.ROM file right into the app’s documents. Note, this is the default ROM. If you’re like me, you’ll put in a MacII.ROM so you can use the amazing System 7.5.5 file below. Just make sure you change the colors to Black & White so you can play Dark Castle.
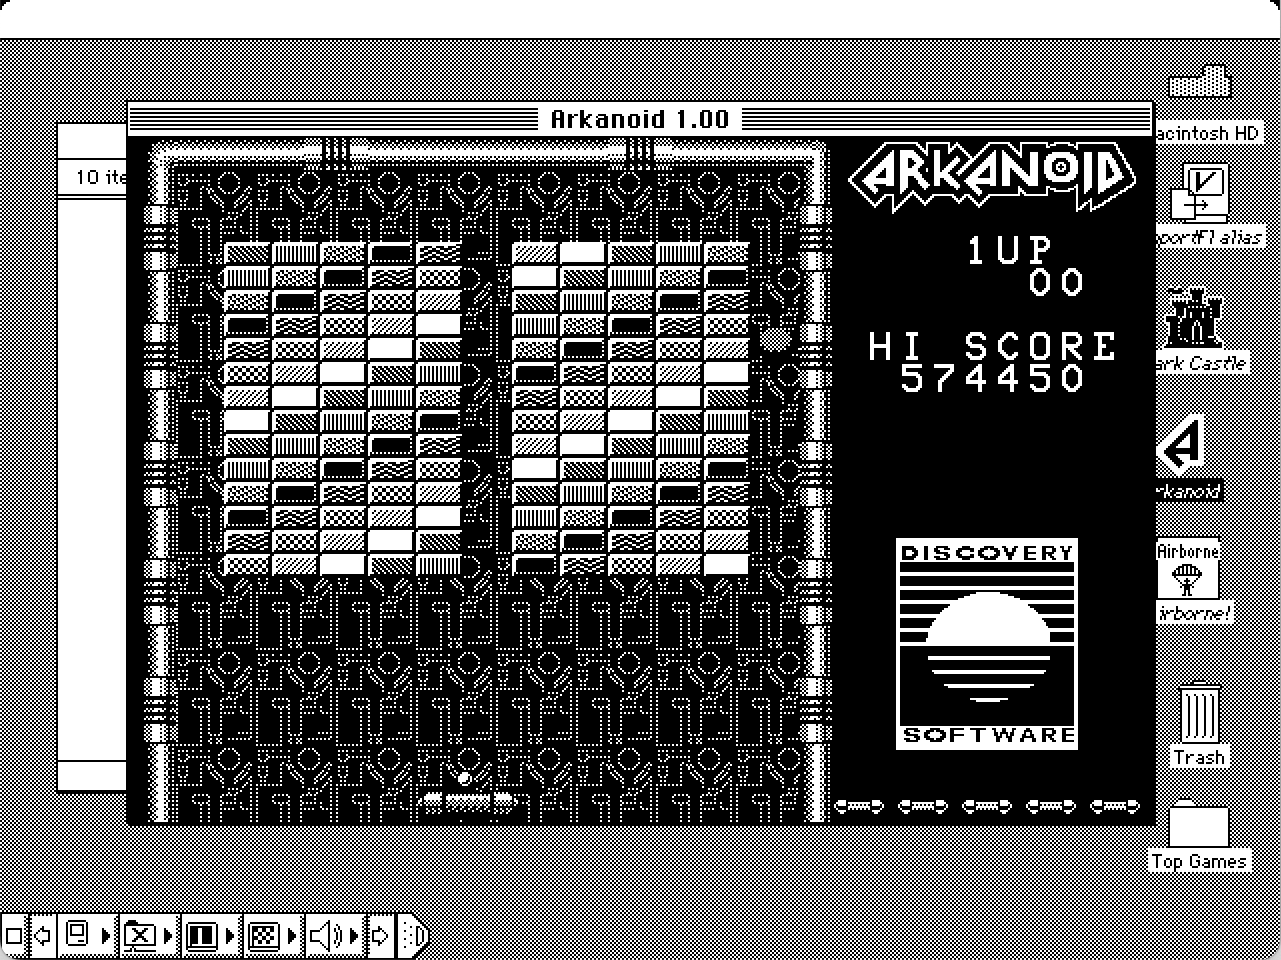
If you’ve got old Mac software disk images lying around—like classic games or system utilities—toss them in the same way you did the ROM. Before you know it, your iPad becomes a nostalgia treasure trove. I’ve been able to find a hugely helpful boot disk on the Internet Archive here:
https://archive.org/details/macintosh-system-7-shareware-games-collection.-7z
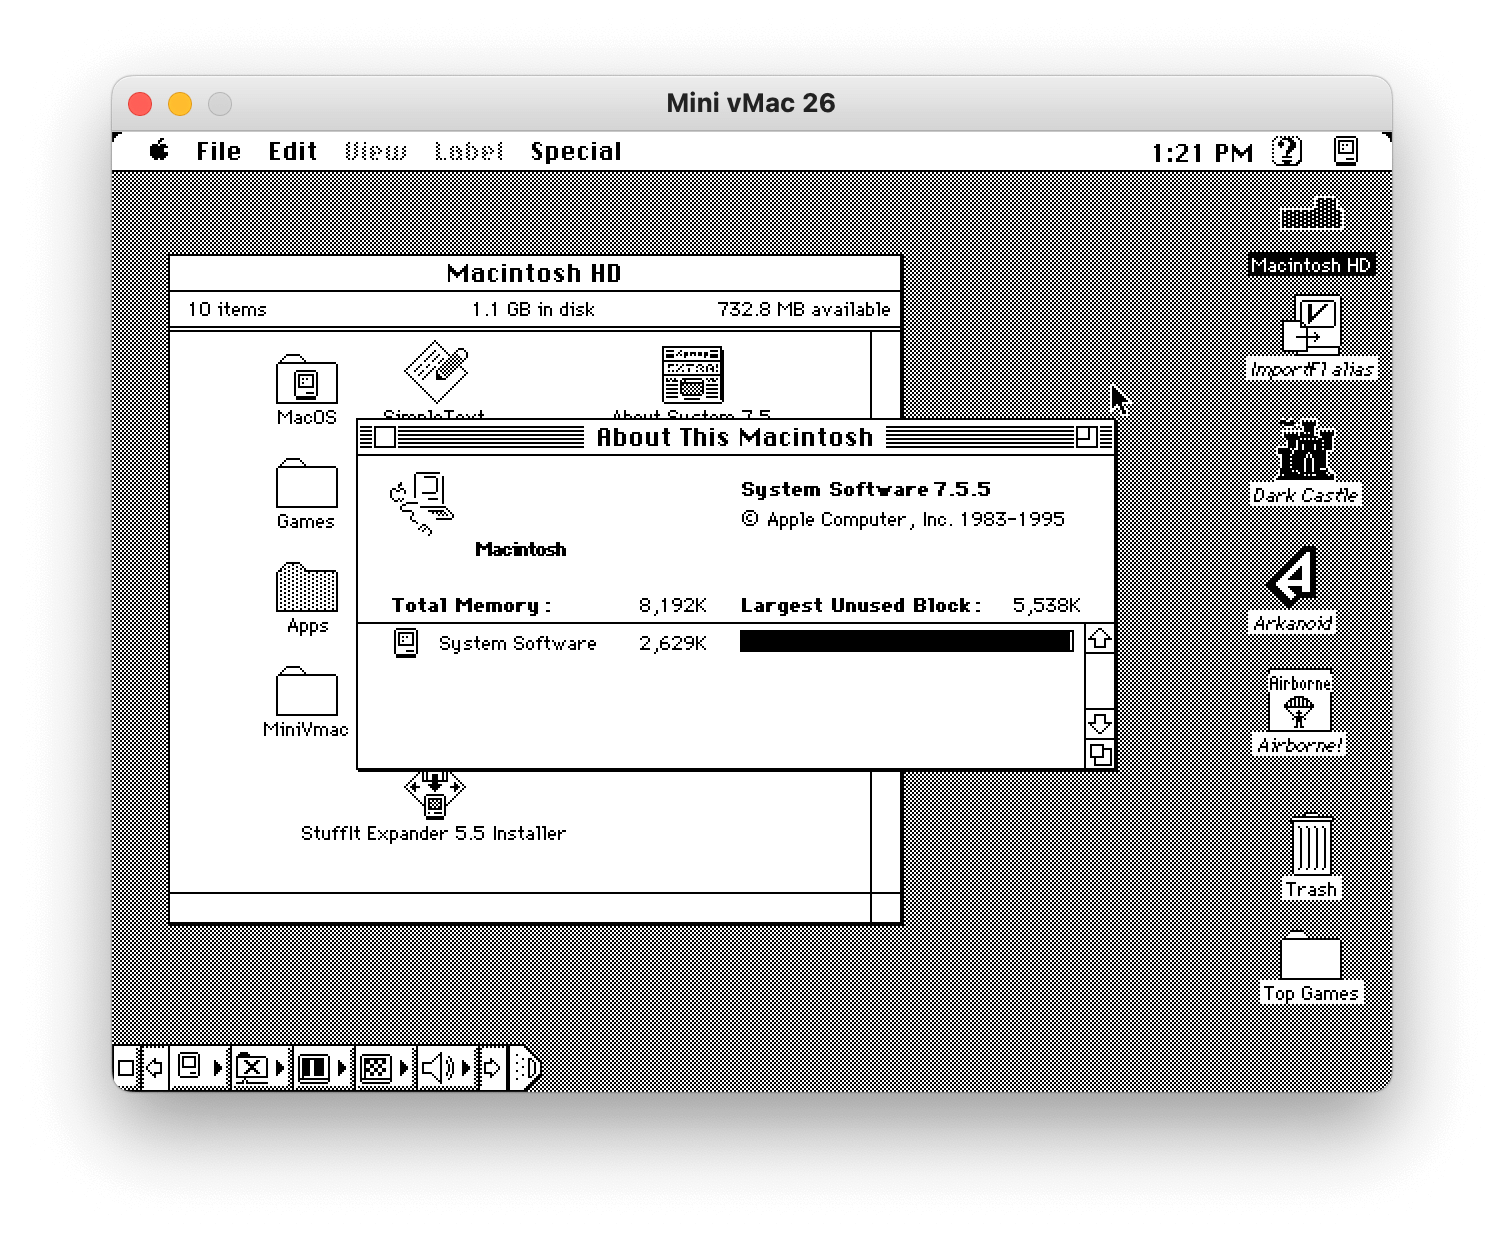
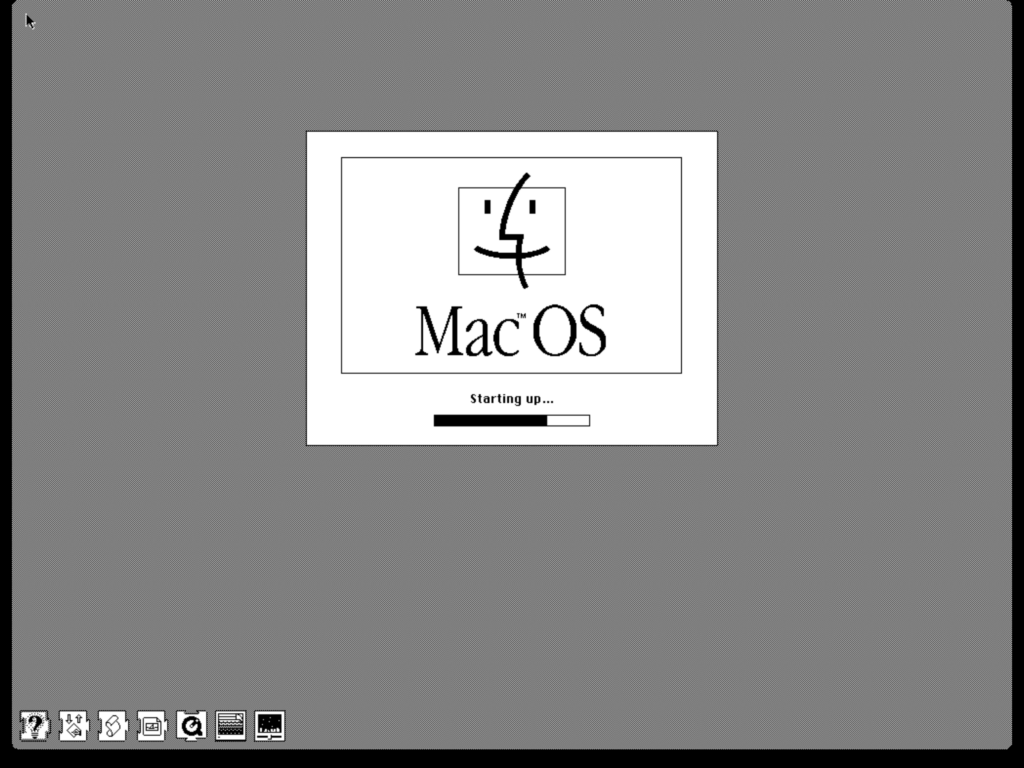
Now for the payoff. Open Mini vMac on your iPad. You should see that iconic 1984 Macintosh screen spring to life. It’s a surreal moment—touch gestures guiding a vintage interface. From here, it’s up to you. Load your favorite old software, tinker with System 6, show off to friends, or just bask in the cozy glow of digital nostalgia.
If you’re using a free Apple Developer account, your shiny new app will expire after 7 days, courtesy of Apple’s rules. It’s a small annoyance, but all you need to do is hop back into Xcode and hit “Run” again to keep your virtual Mac alive and kicking.
For me, emulating the original Macintosh on an iPad isn’t just a technical stunt—it’s time travel. Each beep and pixel is a reminder of the brilliance that brought personal computing to the masses. If you’re a retro computing fanatic like I am, trust me: it’s worth the effort.
Now, excuse me while I go fire up MacPaint and do some pixel art doodling. Who knew old-school creativity could feel so fresh again?
