CFO and co-founder @Accompany, acquired by @Cisco. Turnaround CFO @Ning, sold to Glam Media. Former seed VC. McKinsey trained. @Wharton School and @Haas School of Business.
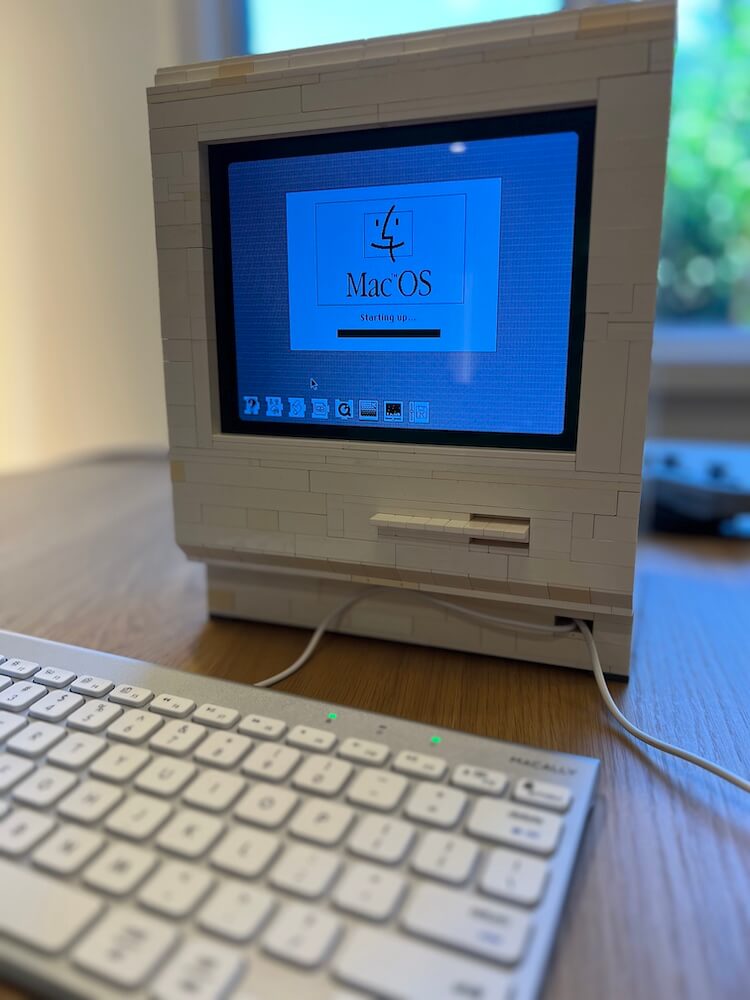
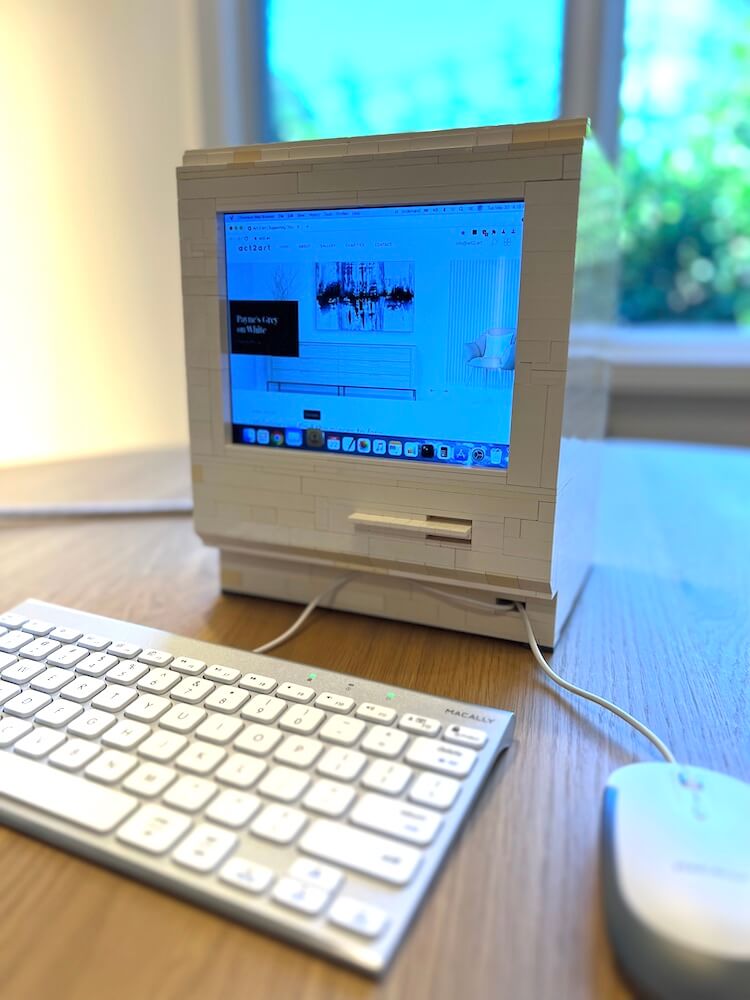
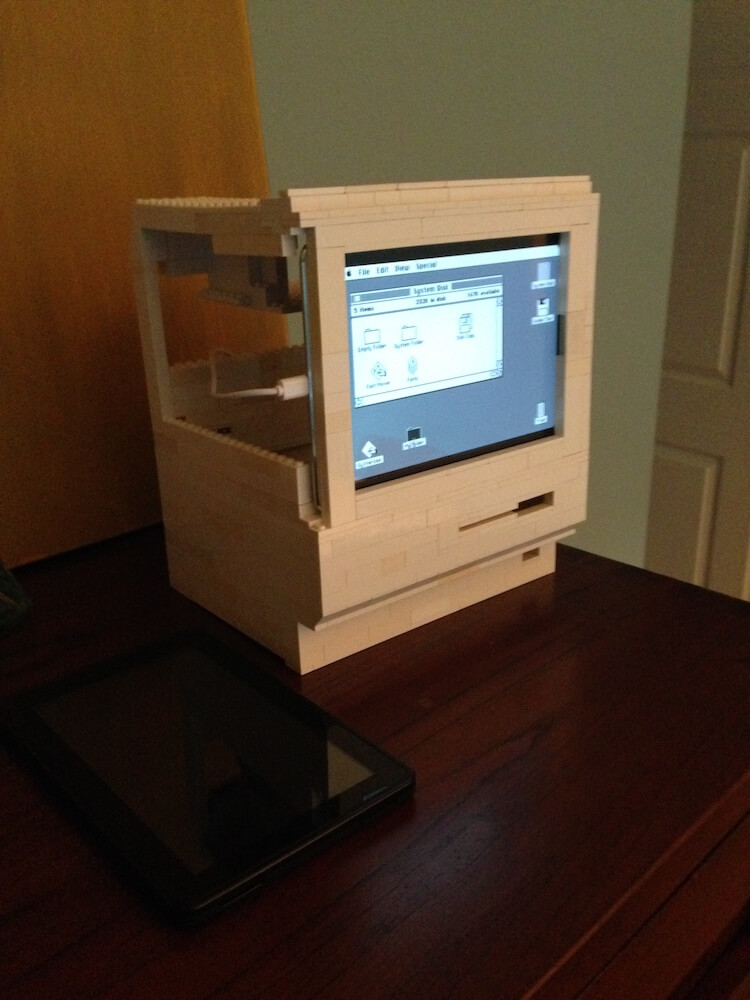
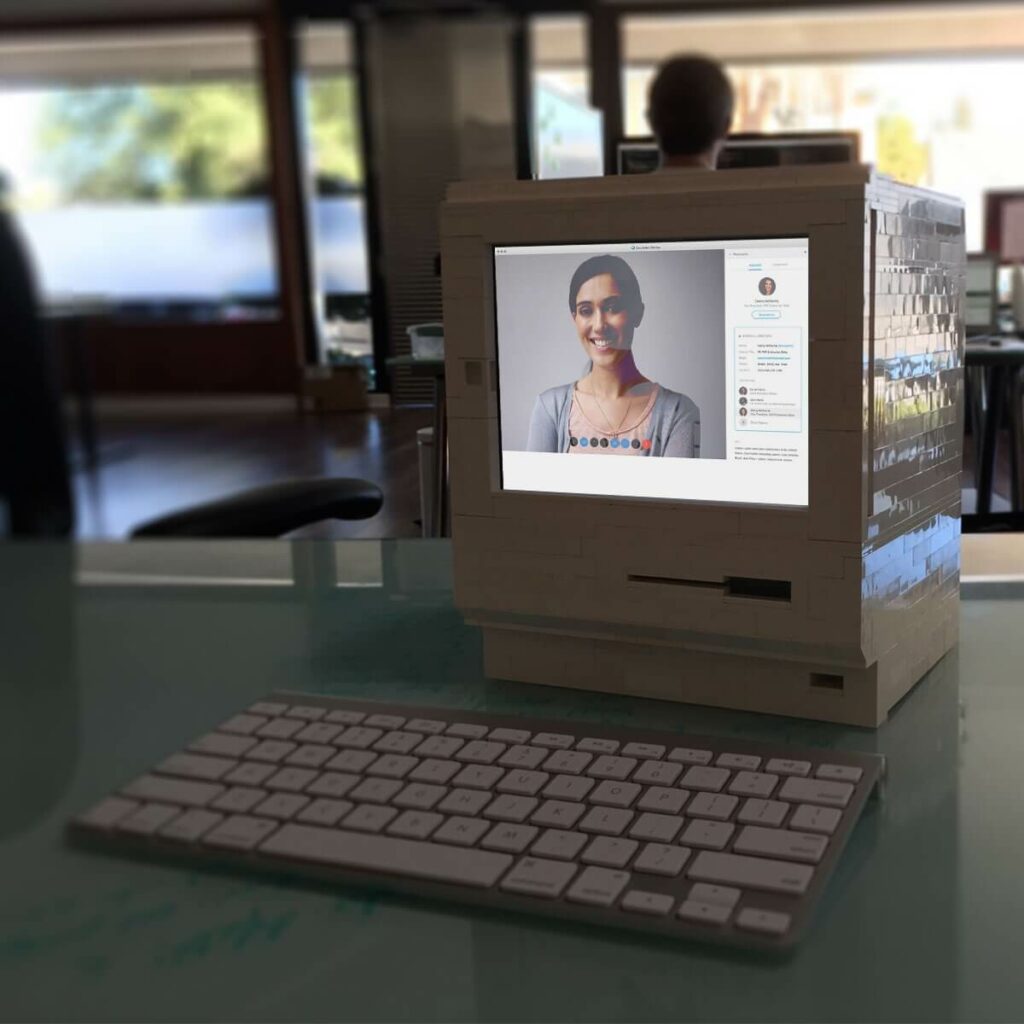
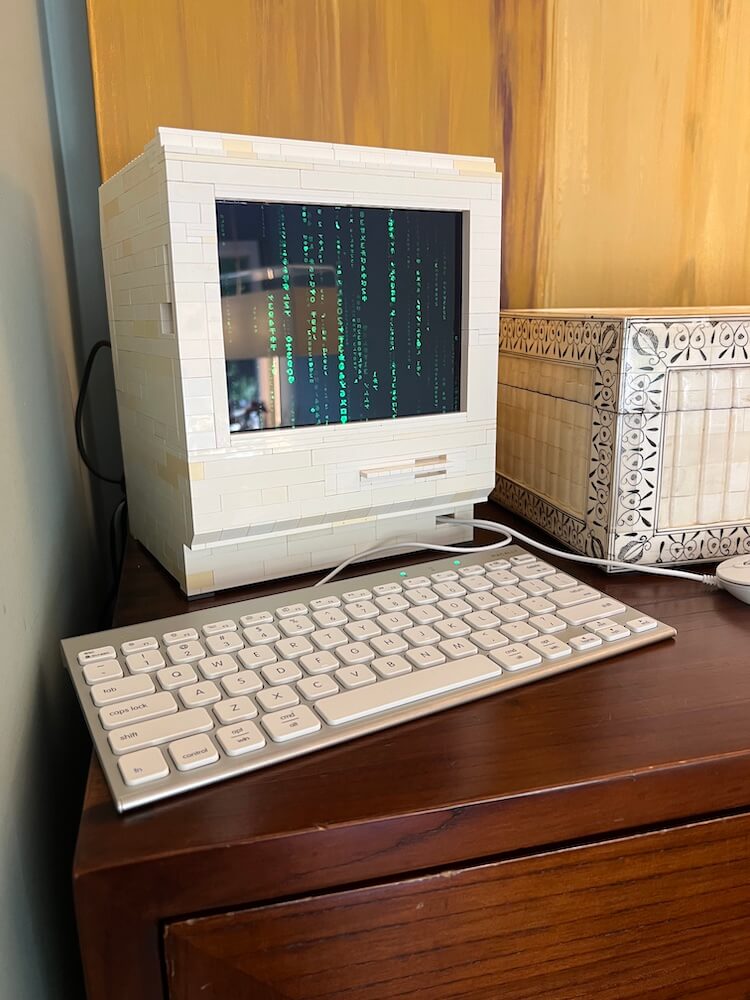
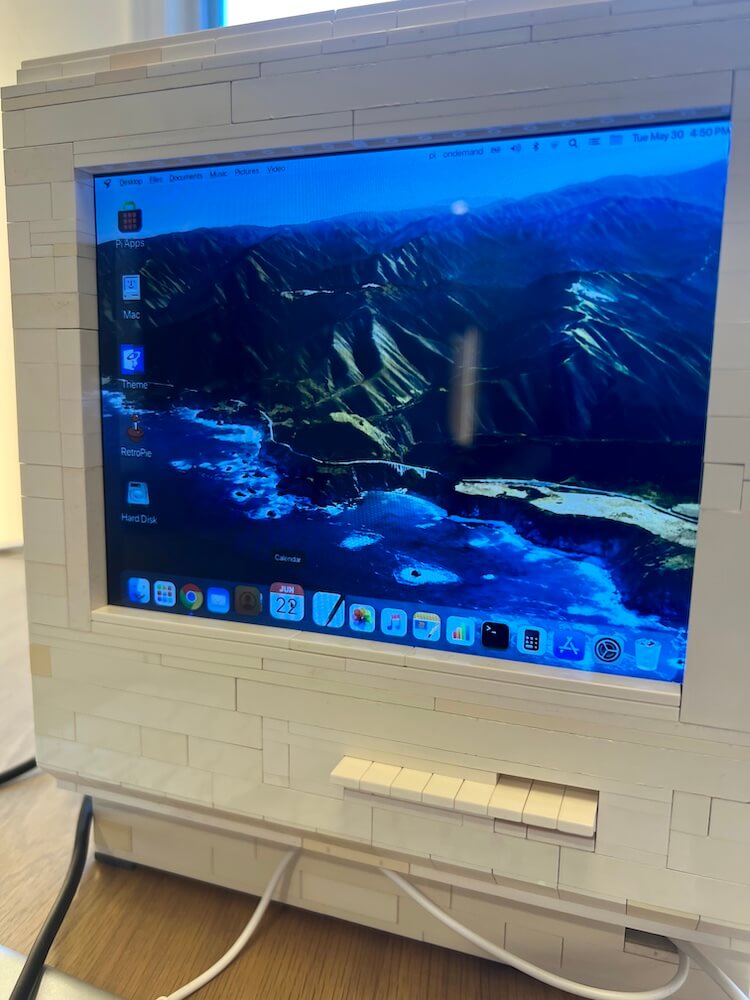
Immerse yourself in a delightful fusion of ’80s nostalgia, cutting-edge technology, and timeless LEGO construction. Let me introduce you to the LEGO Mac, a tribute to the iconic 1984 Macintosh 128K. This LEGO creation is more than just a static model, it’s a fully functional computer, sporting an 8-inch, 4:3 aspect ratio screen, nestled snugly within its LEGO case.
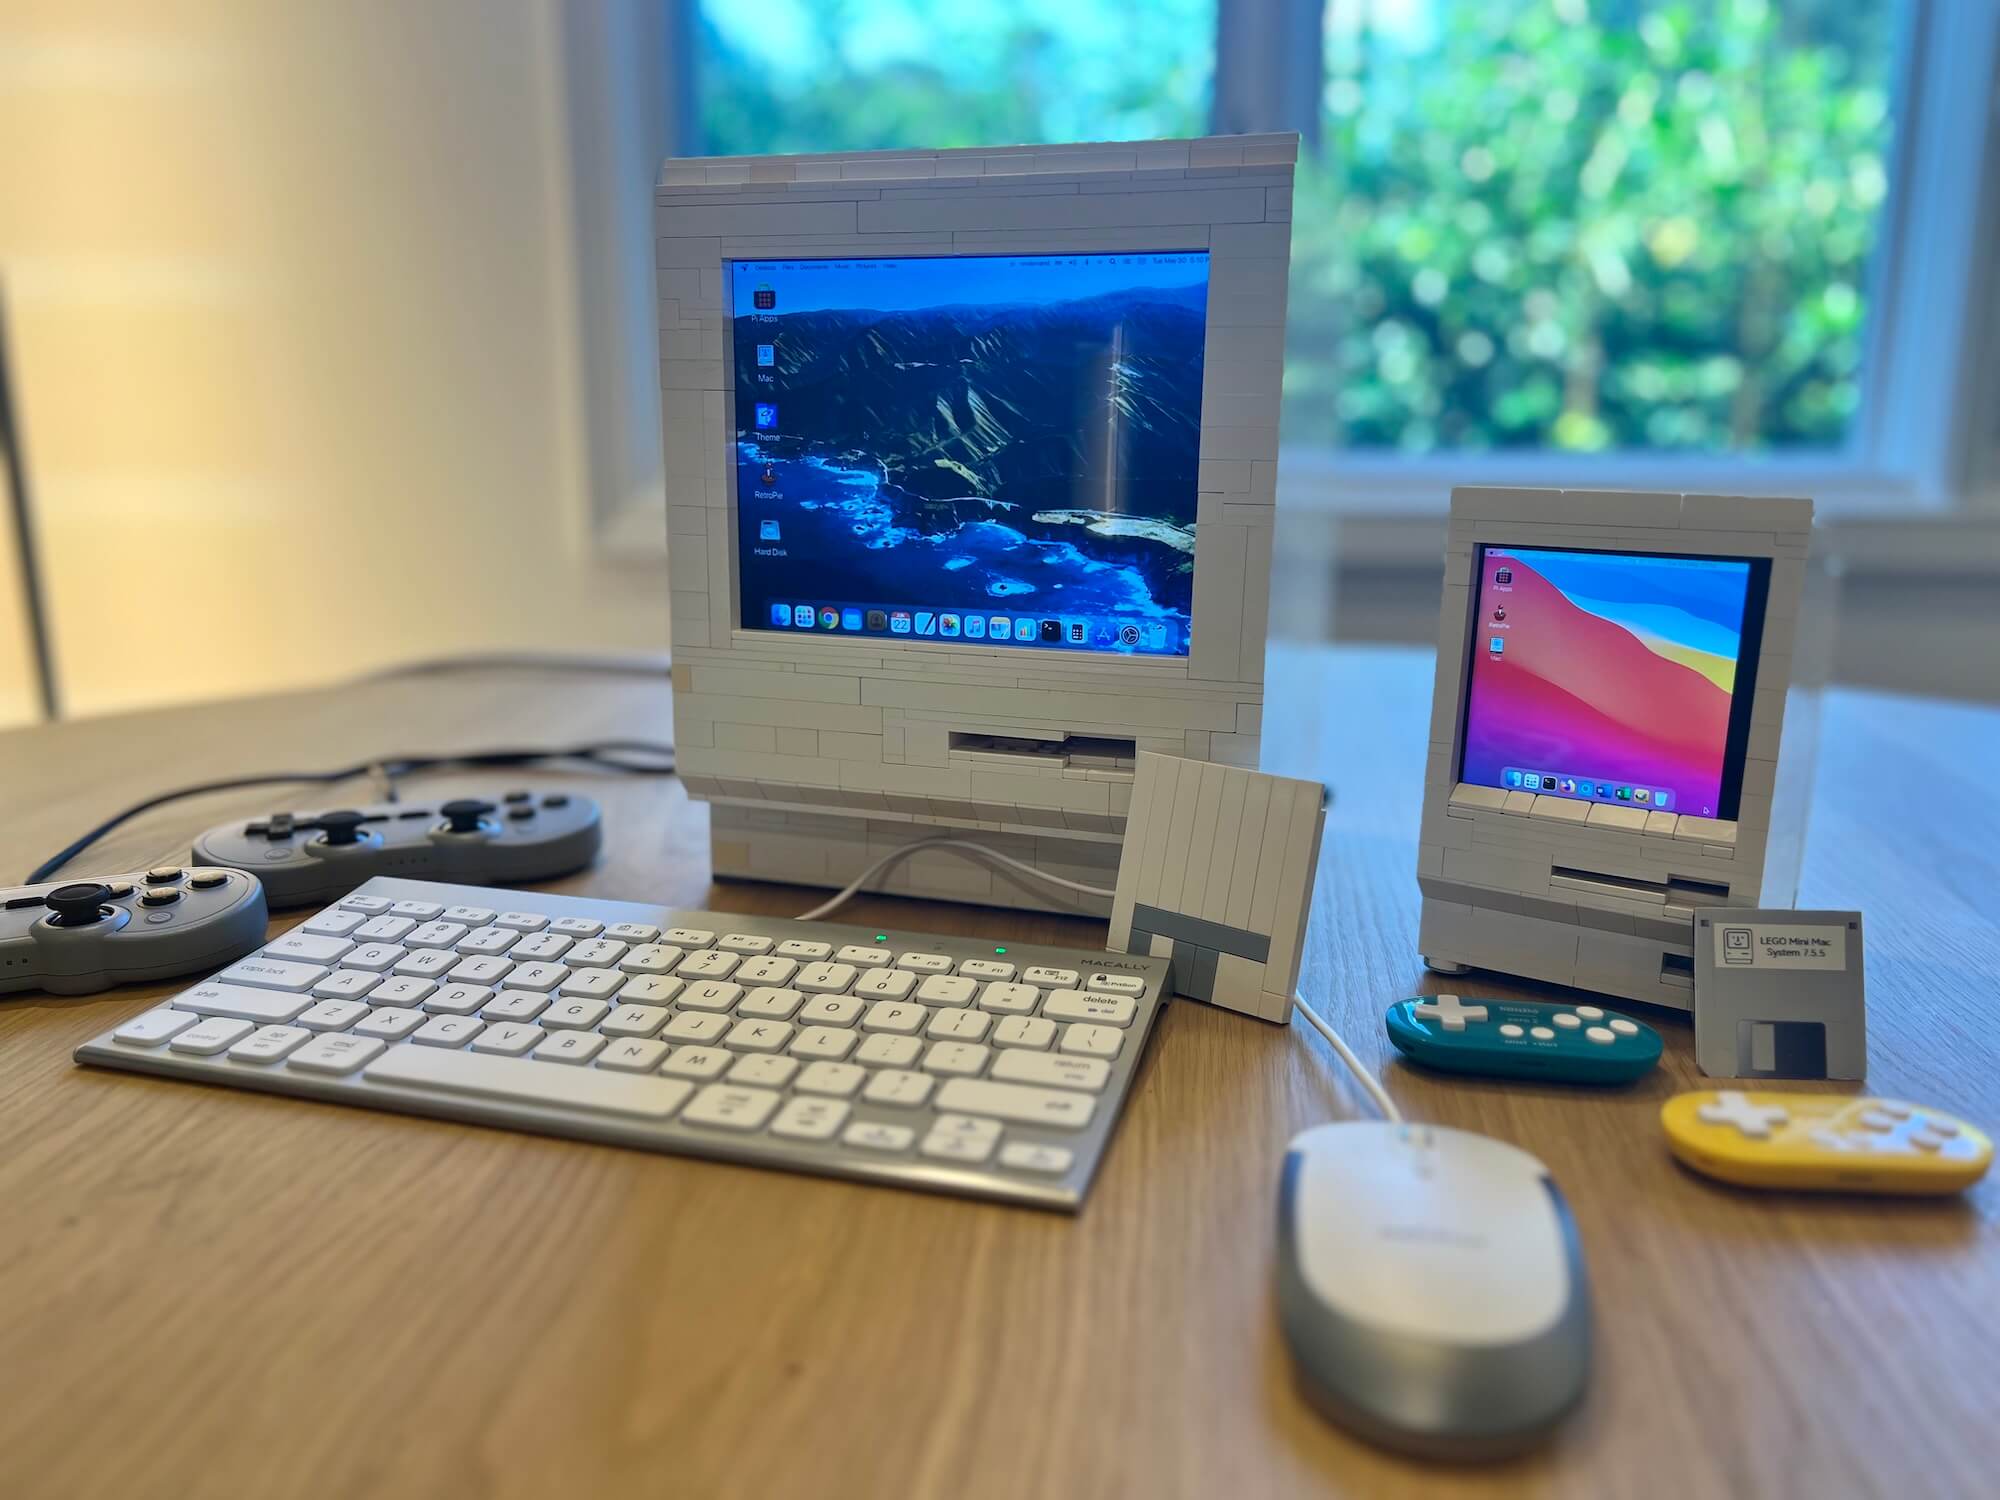
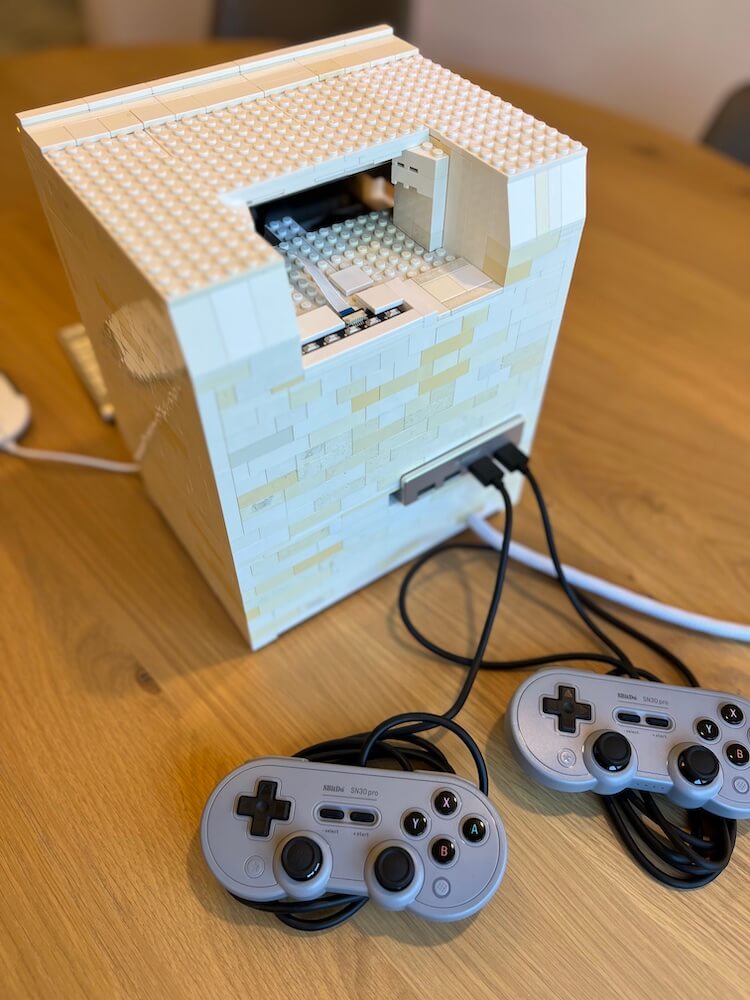
One Big Happy LEGO Family: LEGO Mac with its sibling, LEGO Mini Mac
LEGO Mac
Recapturing the Magic of the ’80s. Growing up in the ’80s, LEGO bricks and the original Macintosh were gateways to infinite imagination and innovation. Recollecting the fond memories of playing classic Atari & NES games, I embarked on a journey to unite these cherished elements into a single creation: the LEGO Mac. Powered by a Raspberry Pi 4 Model B, this LEGO Mac offers a Big Sur themed Linux installation, a complete System 7.5.5 emulator, and retro gaming capabilities, all while capturing the essence of the original Macintosh experience.
Screen designs by libebello’s Retrorama theme. These can be installed in the UI portion of RetroPie.
LEGO Mac
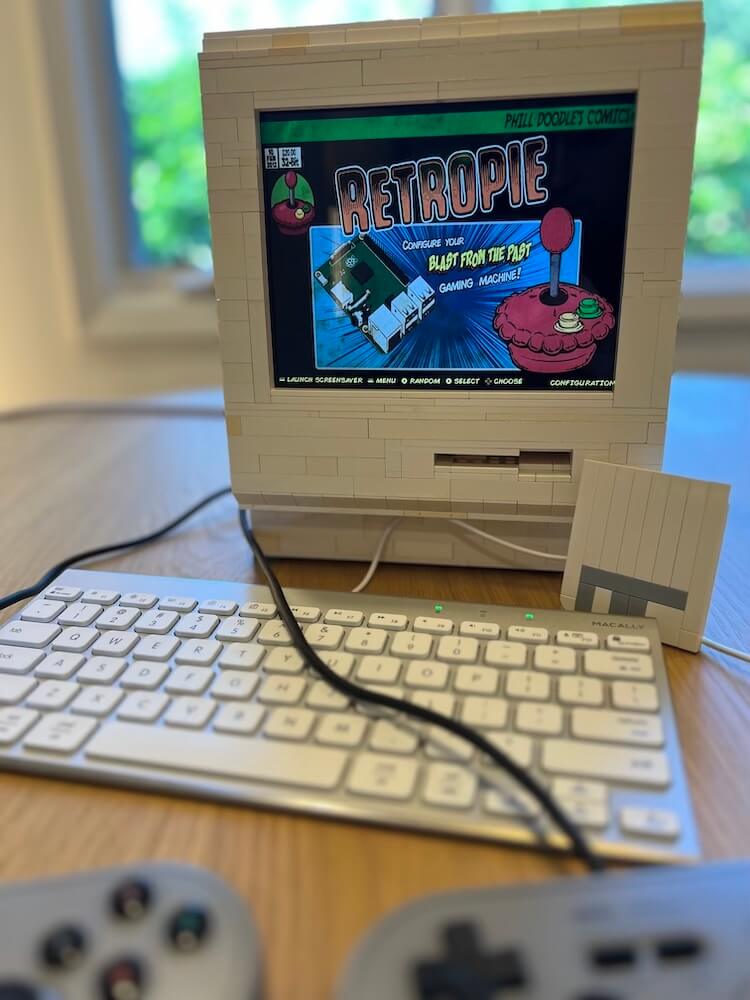
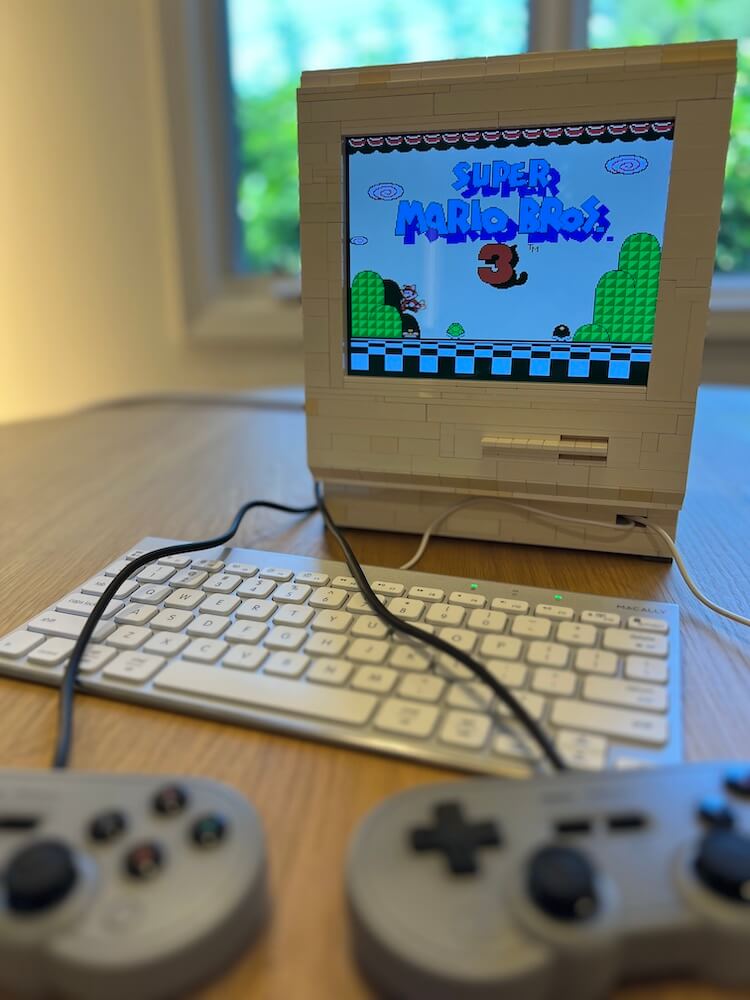
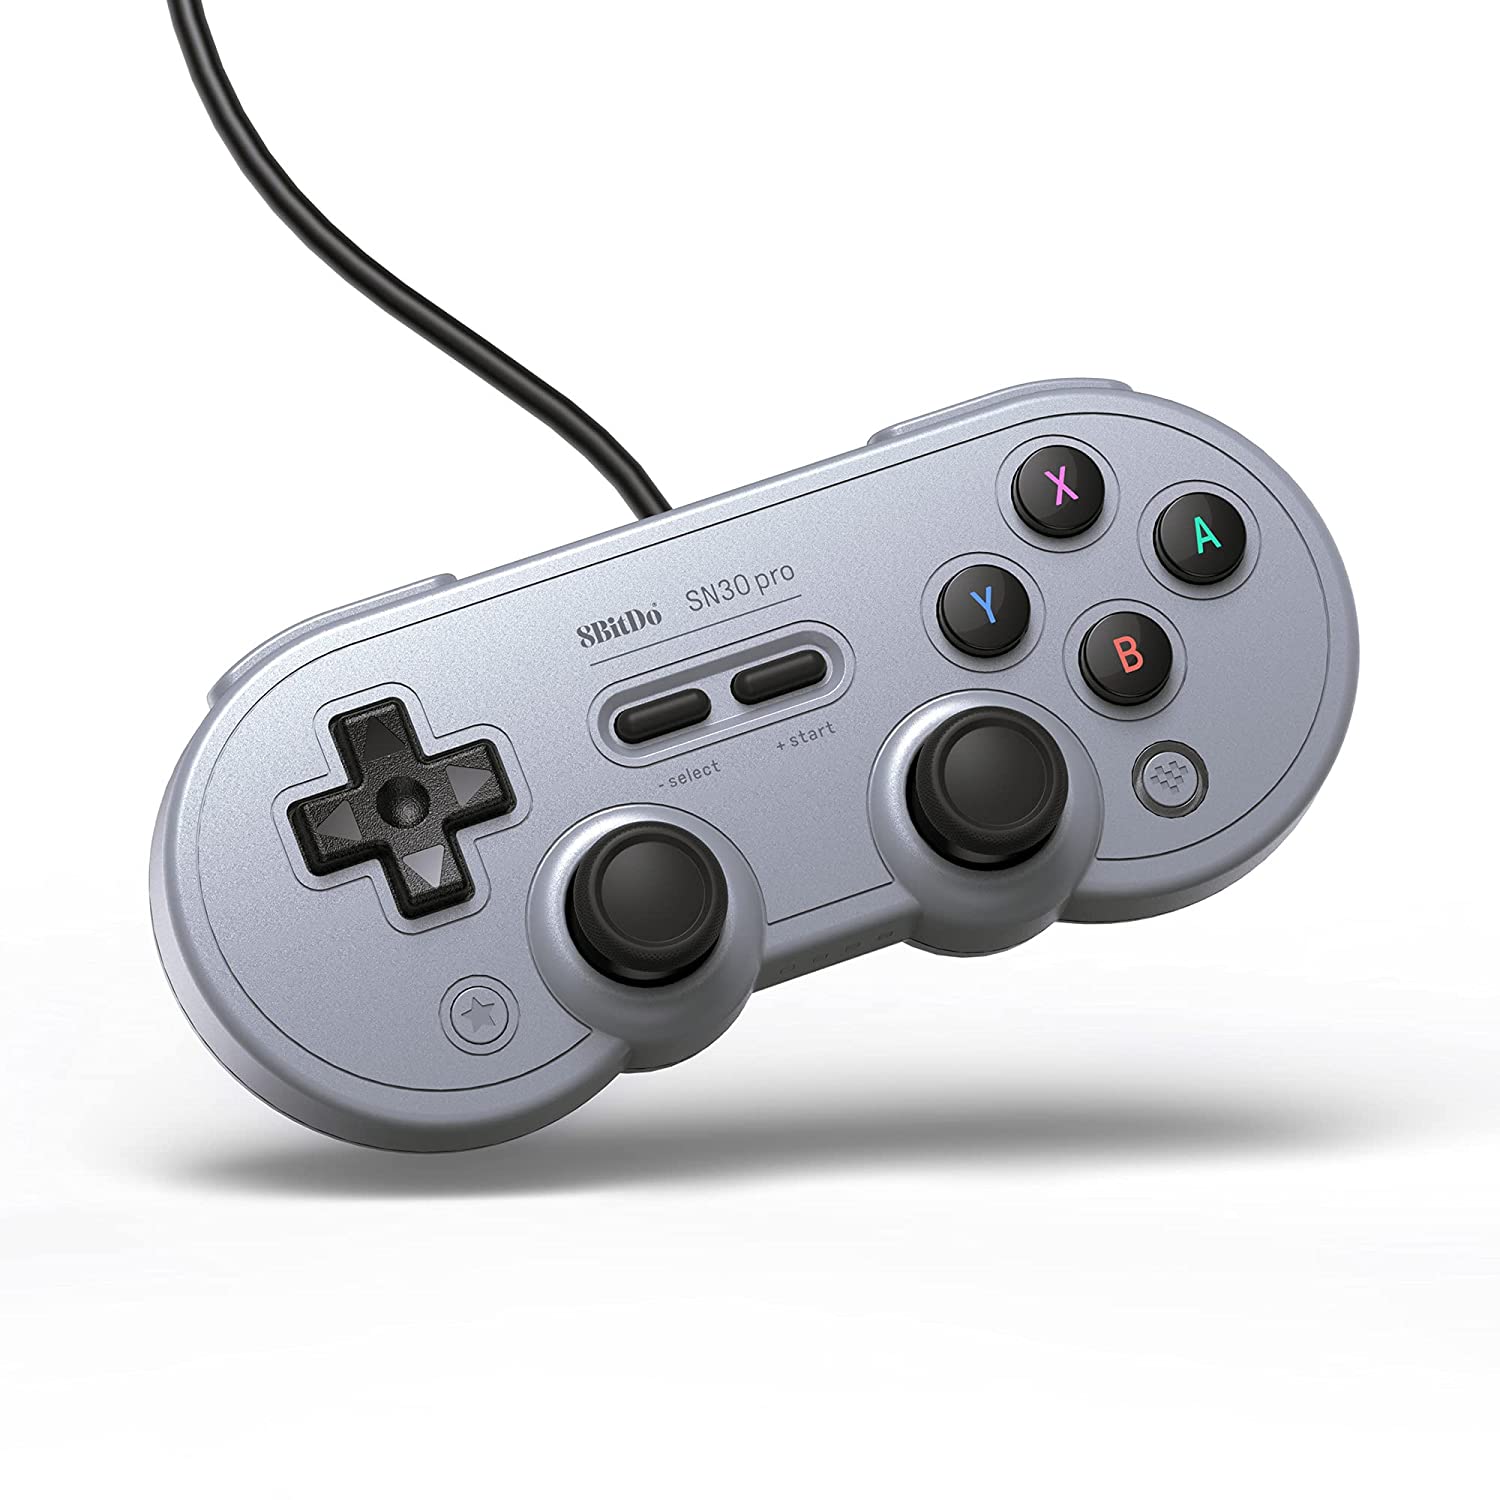
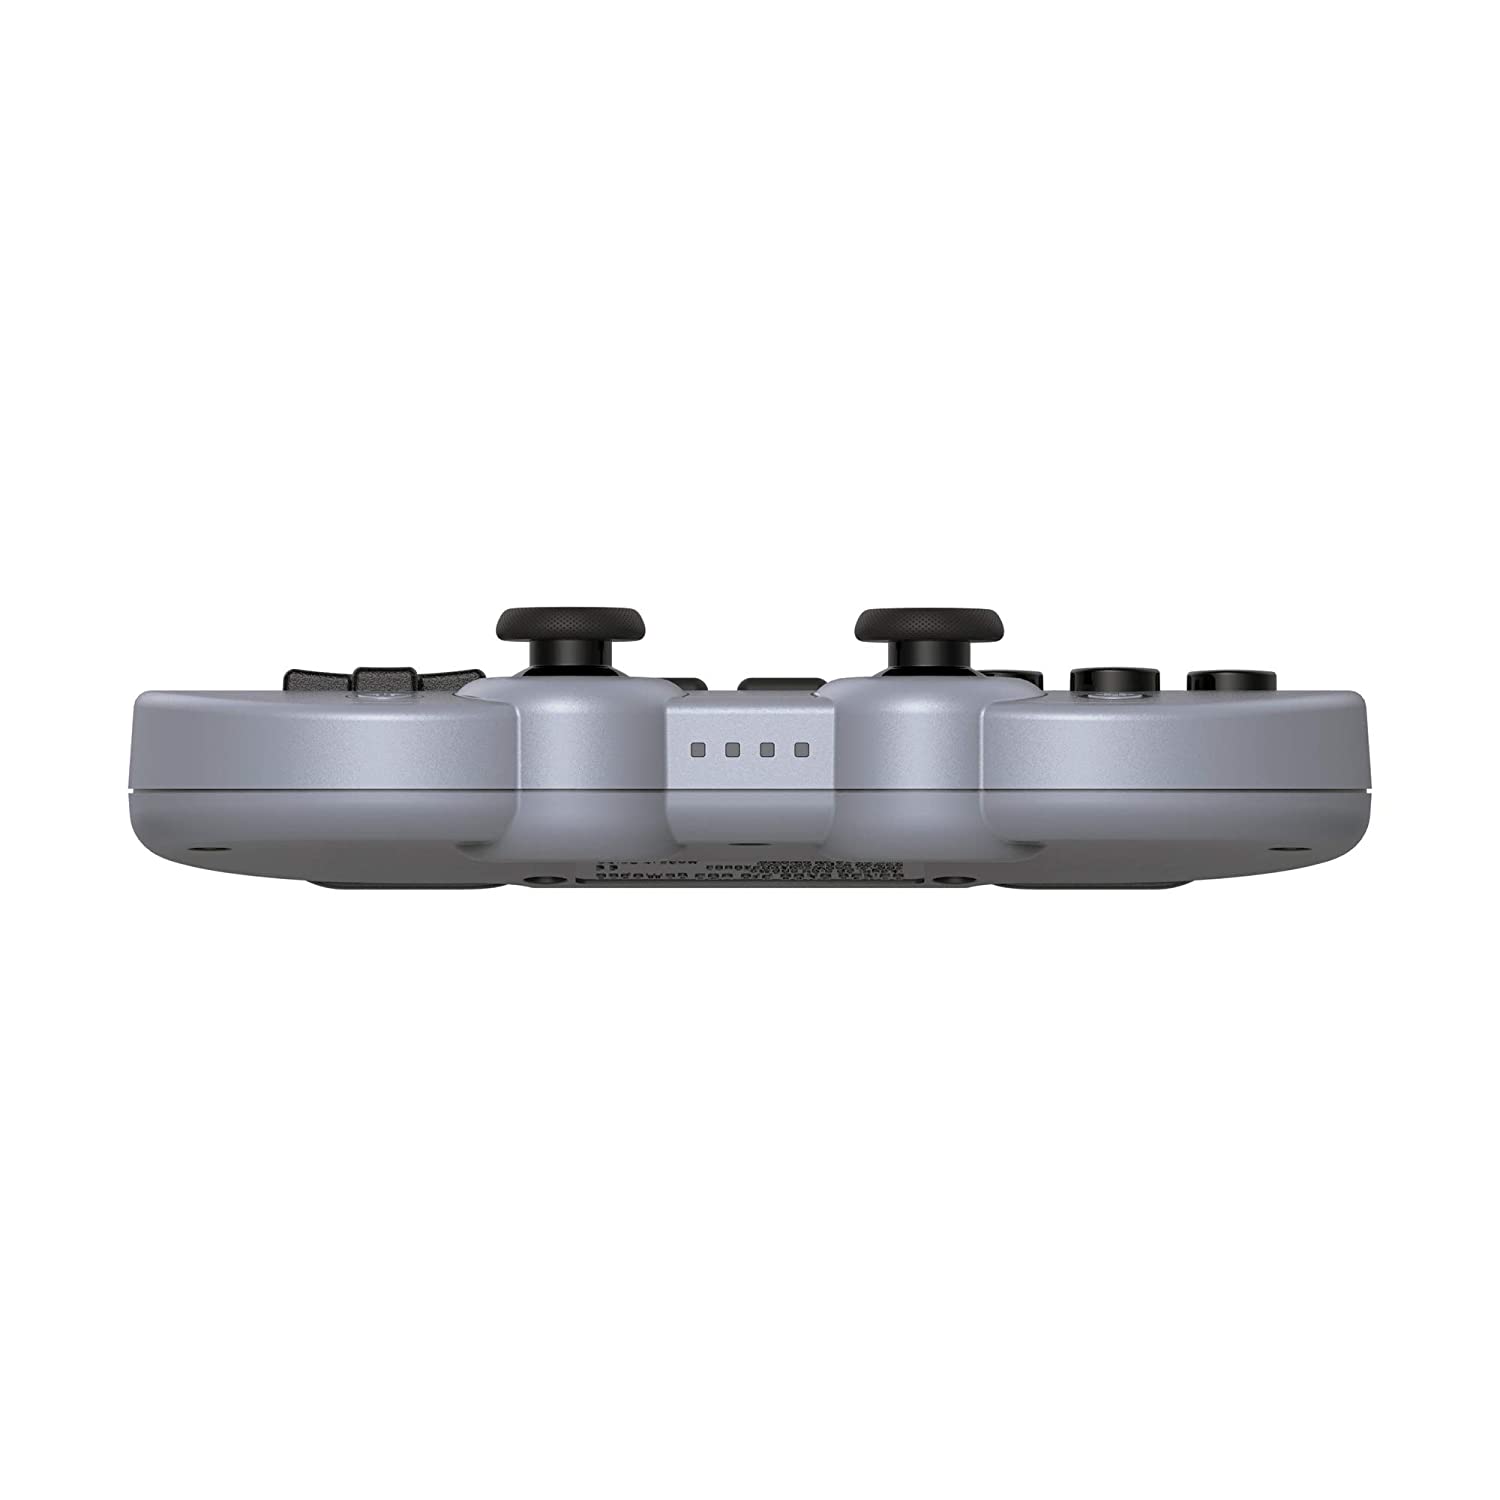
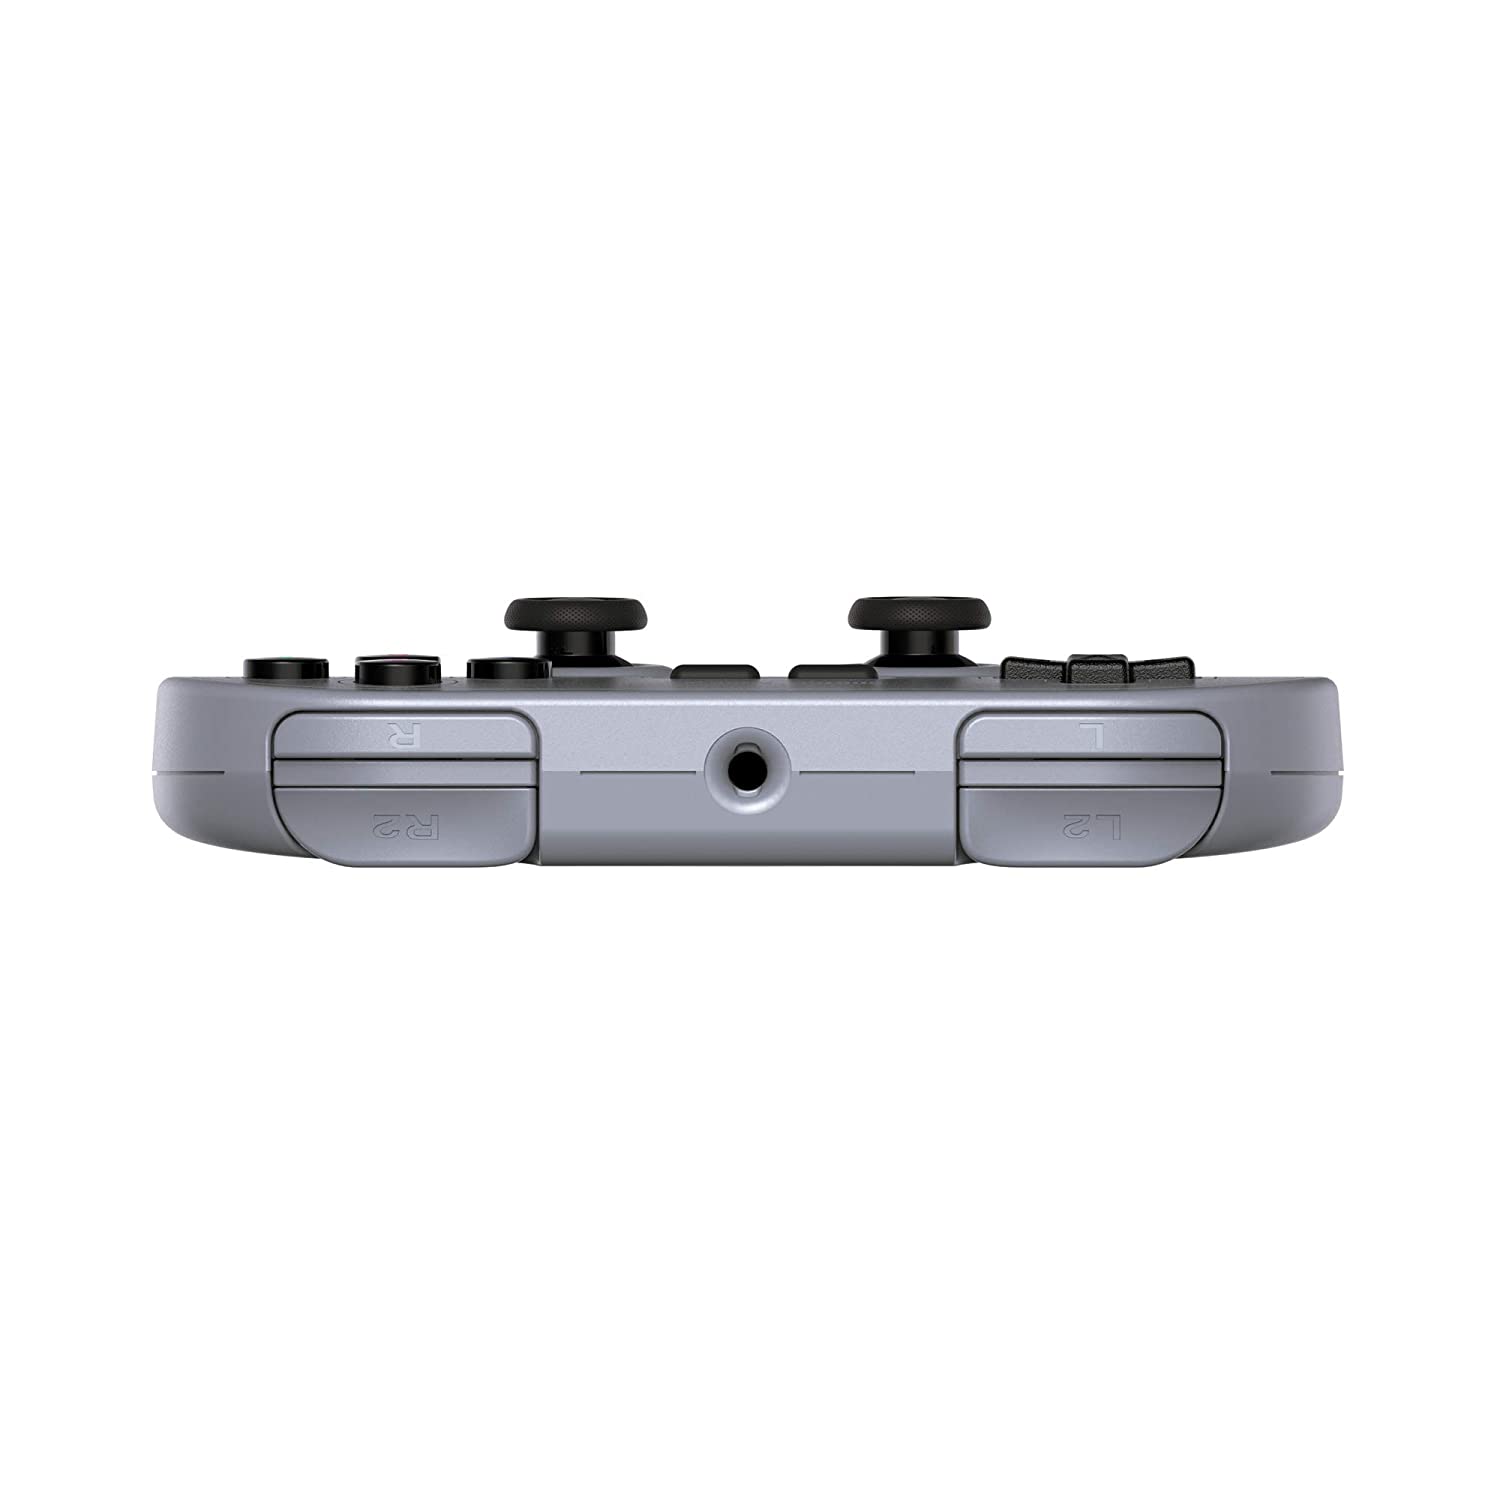
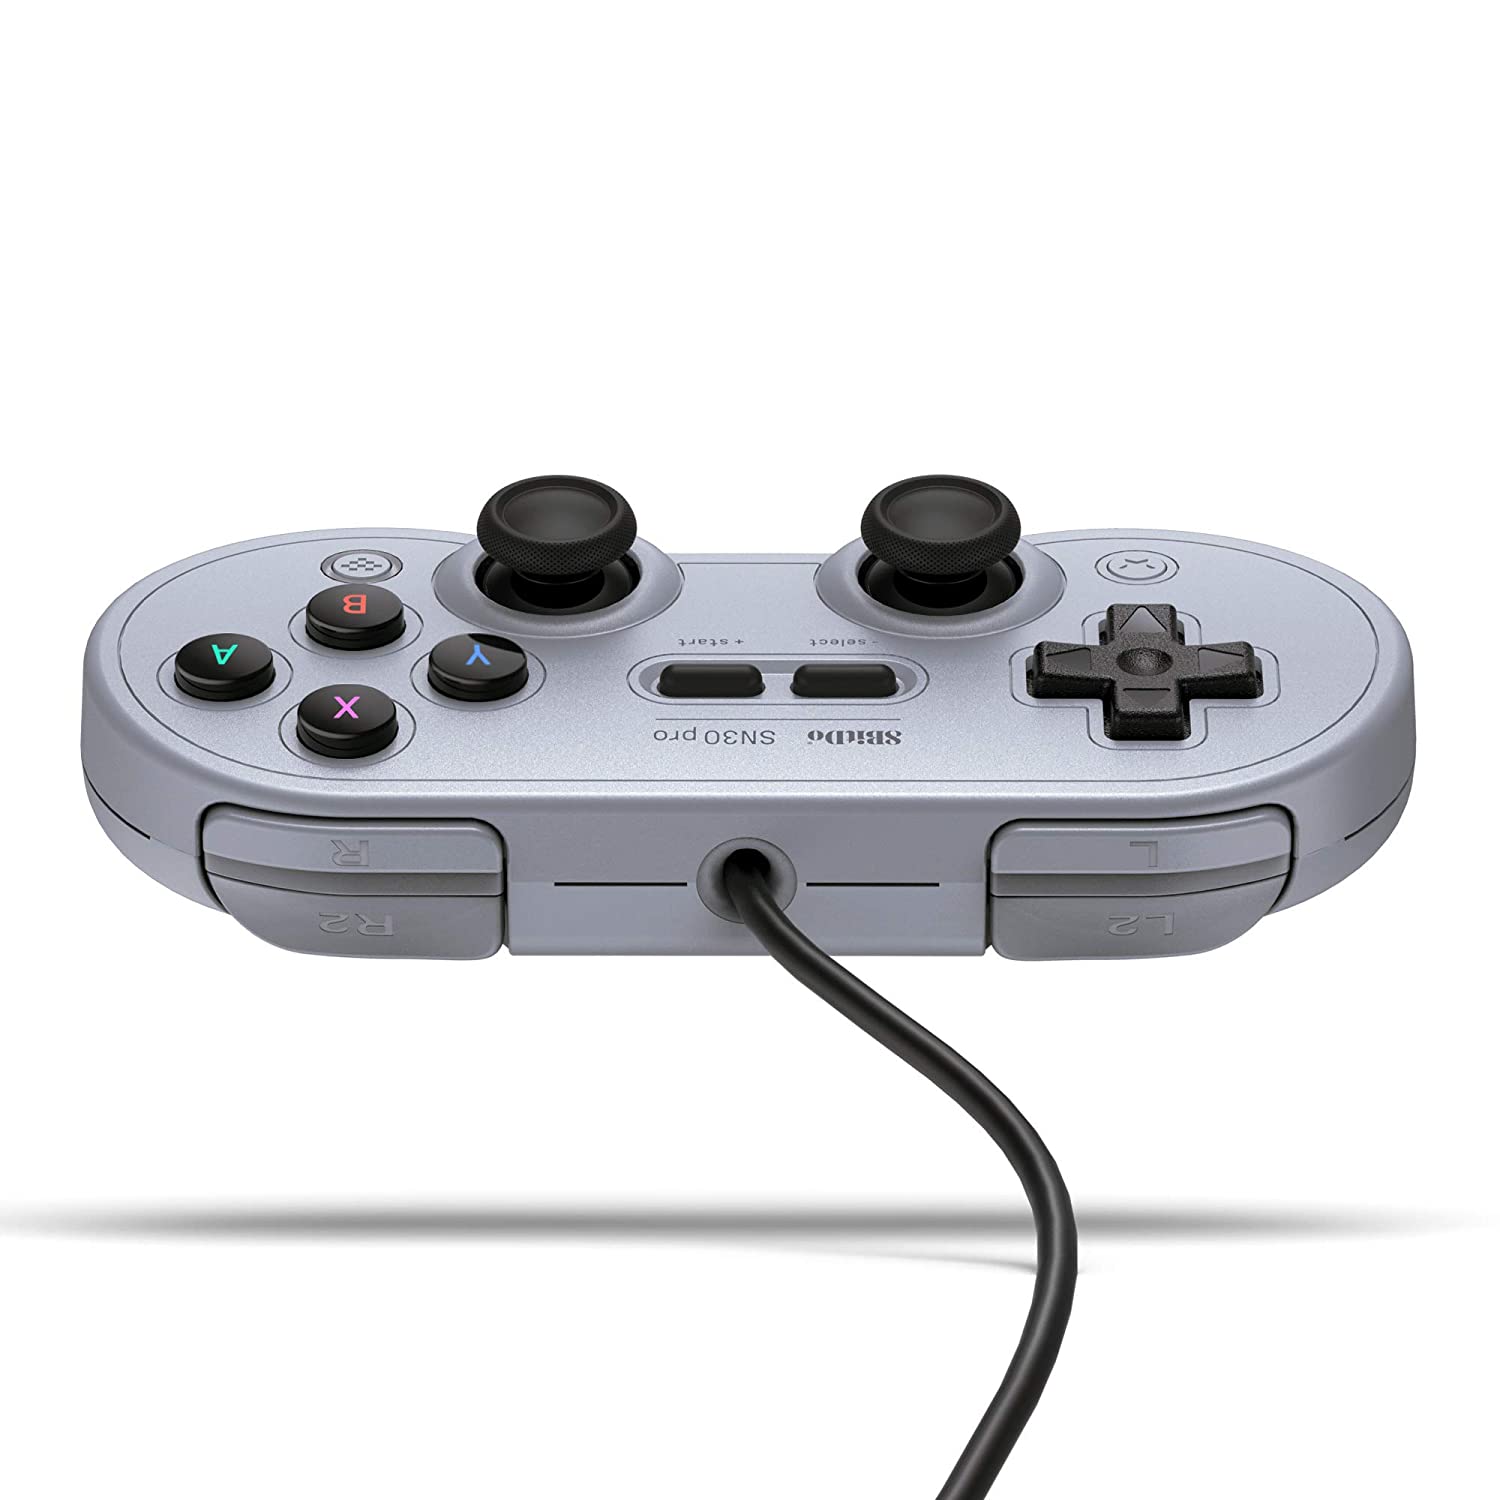
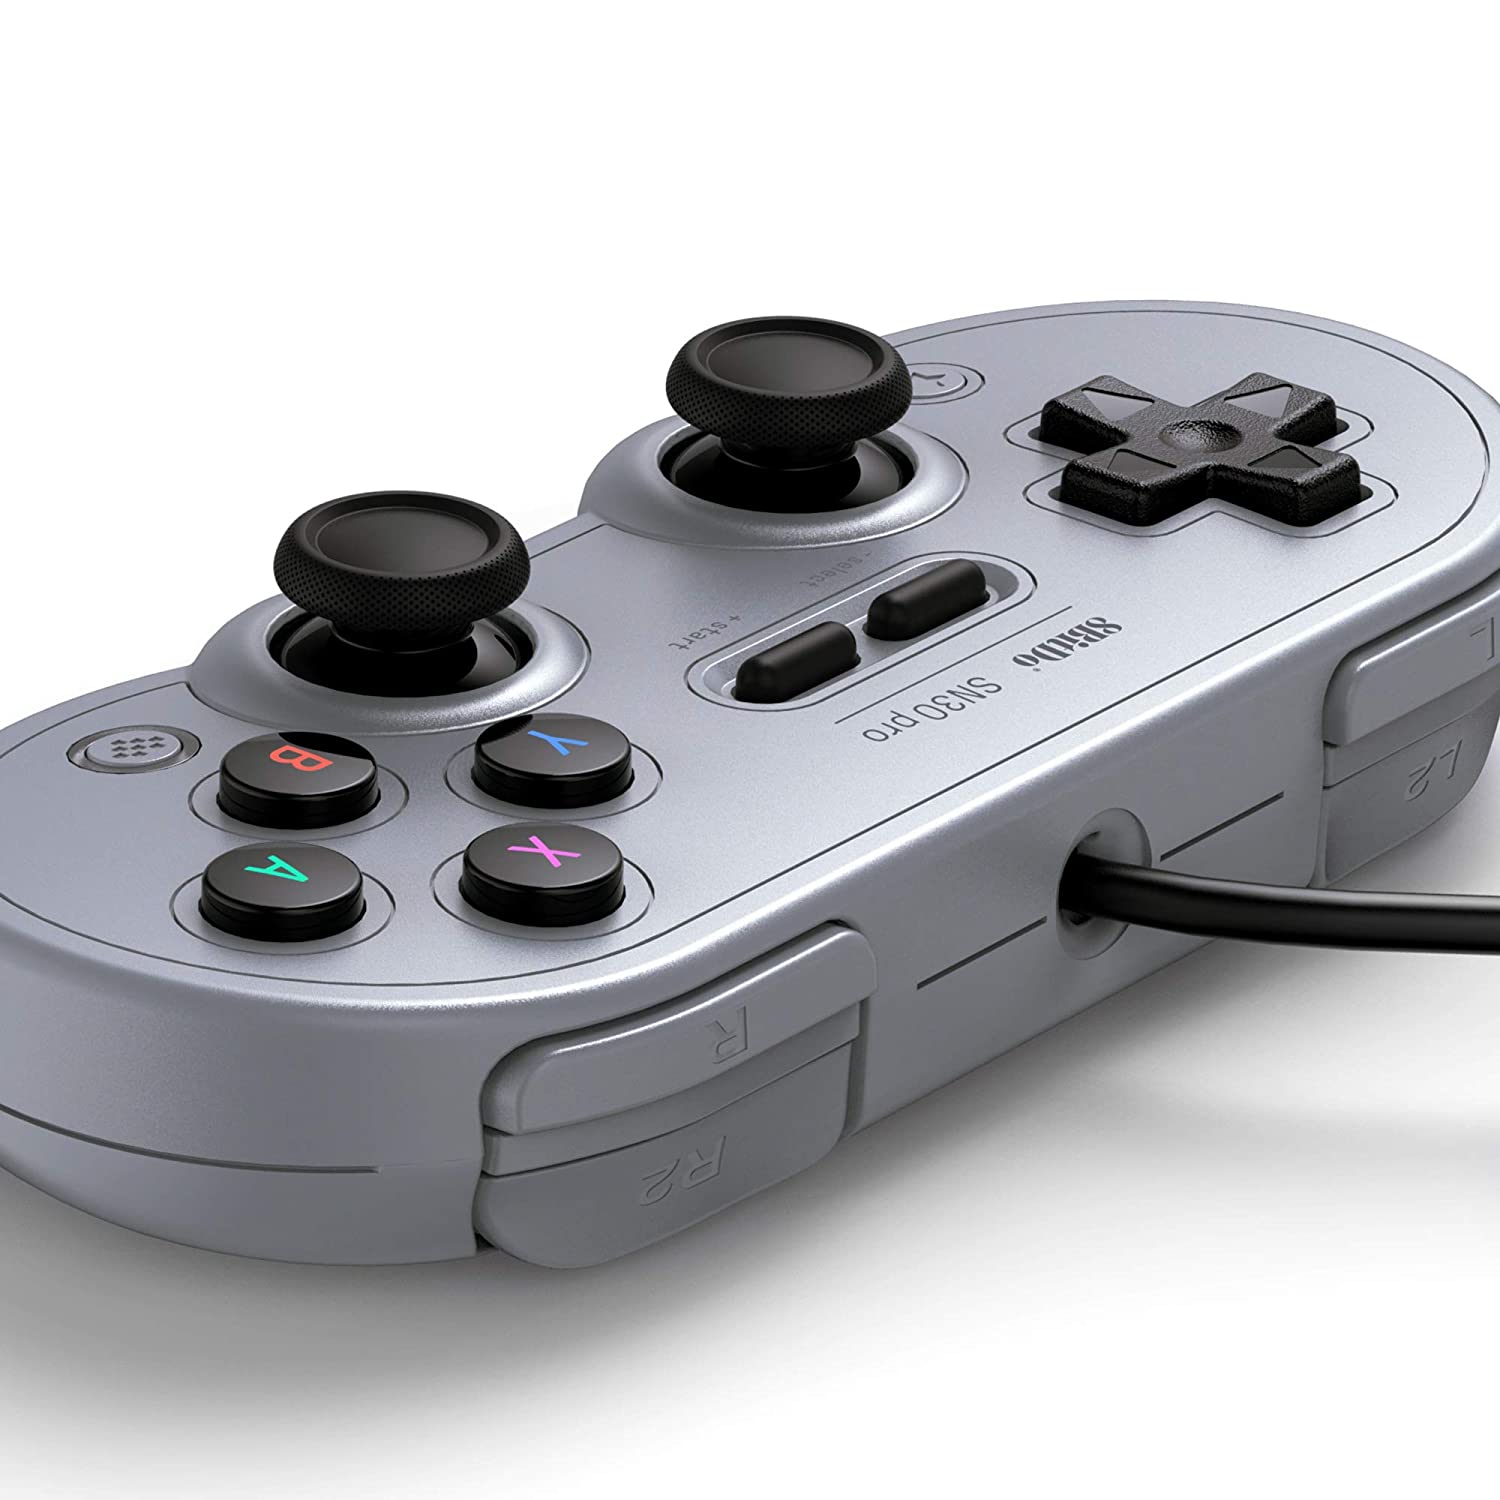
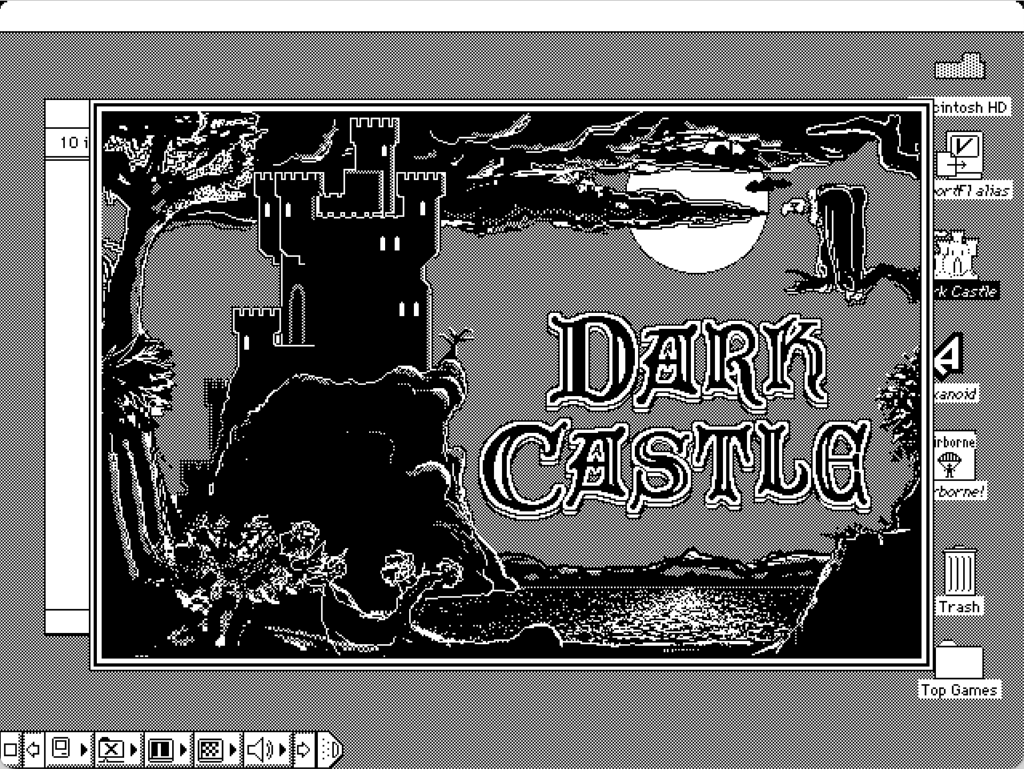
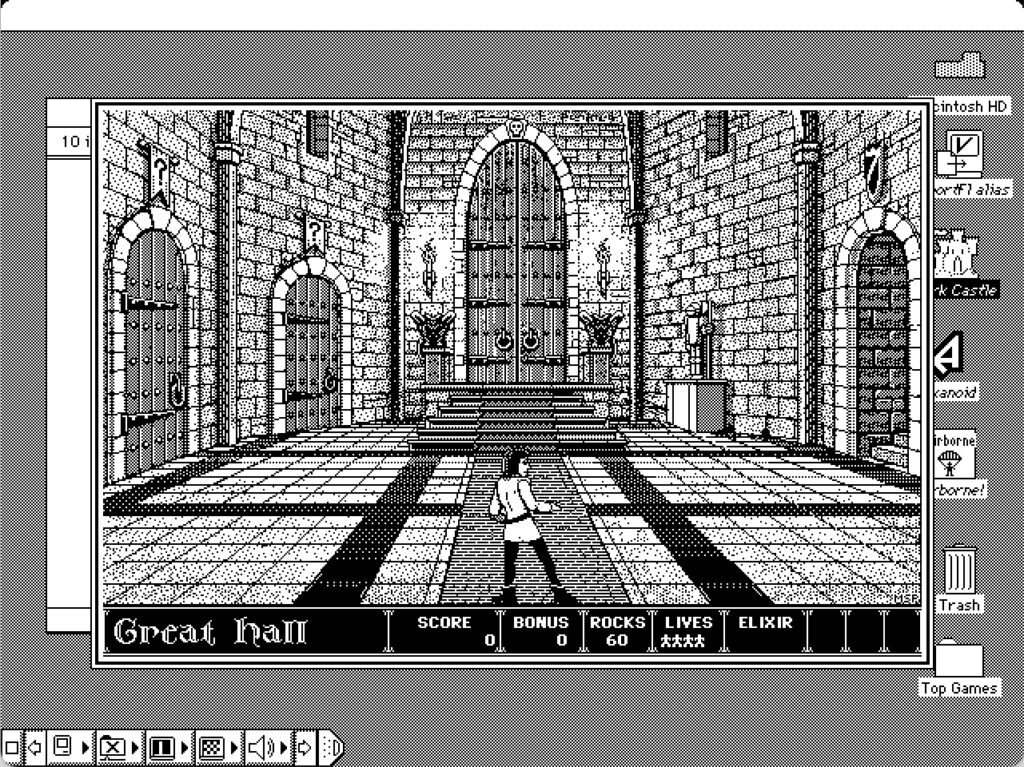
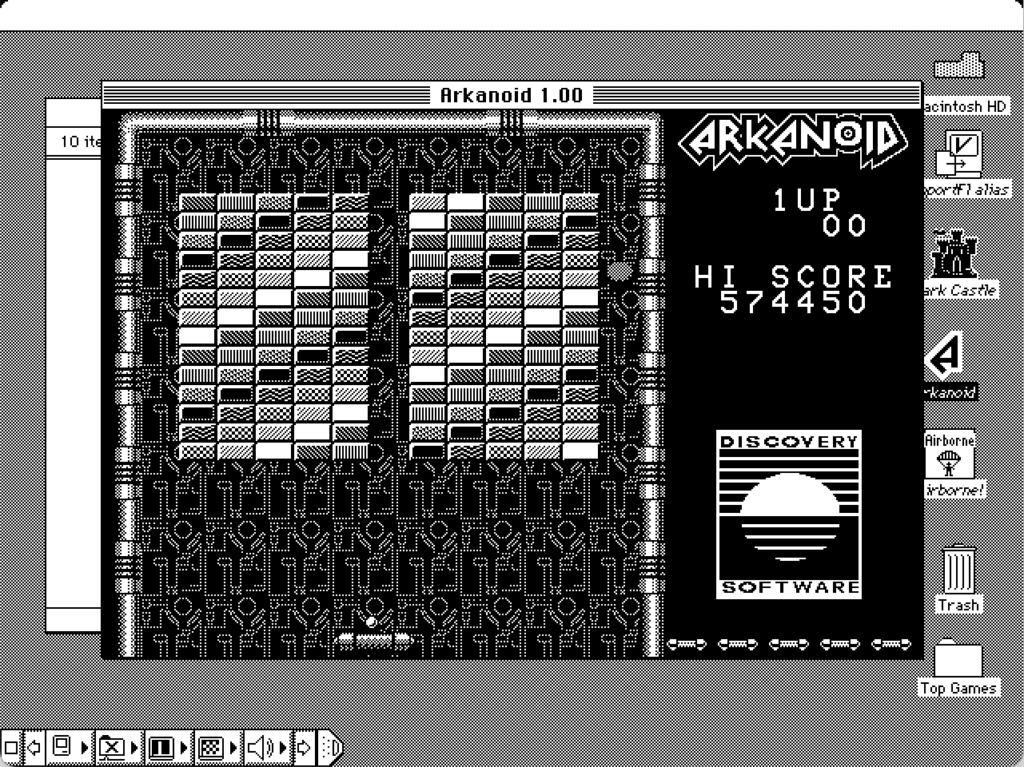
A Trip Down the Memory Lane with Retro Gaming. Revisit the golden age of gaming with the LEGO Mac. From the thrill of navigating through the jungle in Pitfall on your Atari 2600 to the excitement of playing Super Mario Brothers 3 on your NES, these cherished gaming experiences are ready to be relived. The LEGO Mac offers you the joy of hopping in and out of your favorite retro games at your convenience via the two wired 8Bitdo Sn30 Pro gamepads.
BUILD PROCESS
Decade-long Journey: From a LEGO Dock to the LEGO Mac. What started as a simple iPad Mini dock constructed from childhood LEGO bricks and some newly purchased ones, transformed over the years into the LEGO Mac. The yellowed, sometimes brittle bricks gave it a unique ‘bone box’ look that I cherished. As time went on, it played host to a Google Home, a Raspberry Pi touchscreen, and now it boasts a 4:3 ratio screen and a proper OS reskinning in its full retro glory. In line with the LEGO spirit, no kragle was used, and all components were pressure fitted without any modification to the LEGO parts.
Original Build: iPad Mini Dock (above) & Office Display (Below)
Building the LEGO Mac: A Blend of Creativity and Practicality
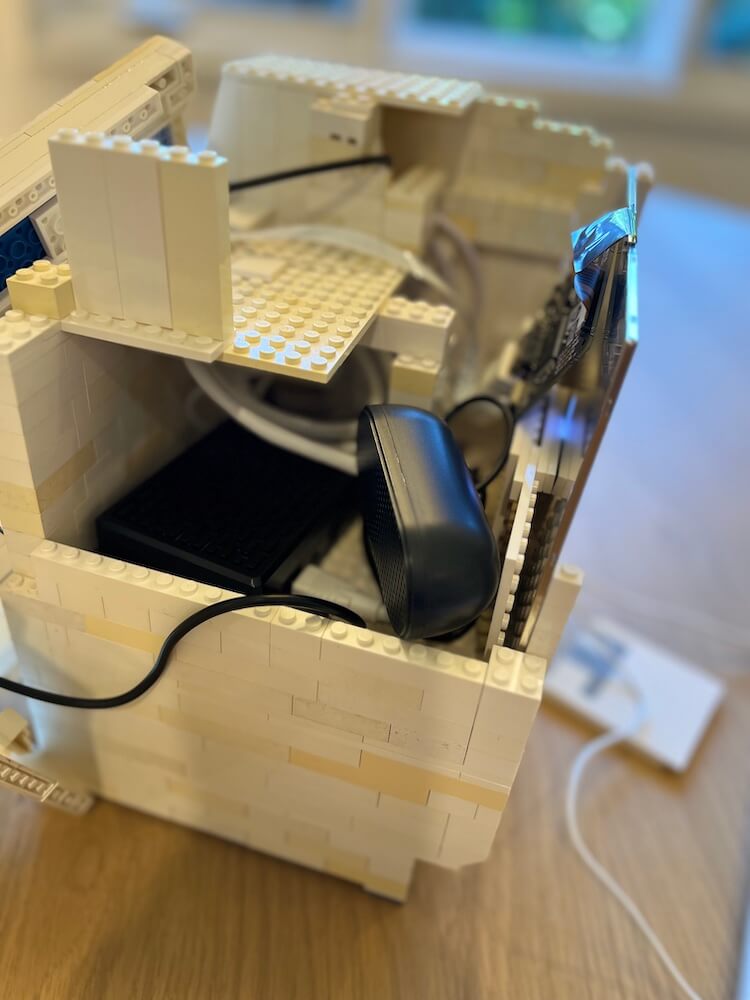
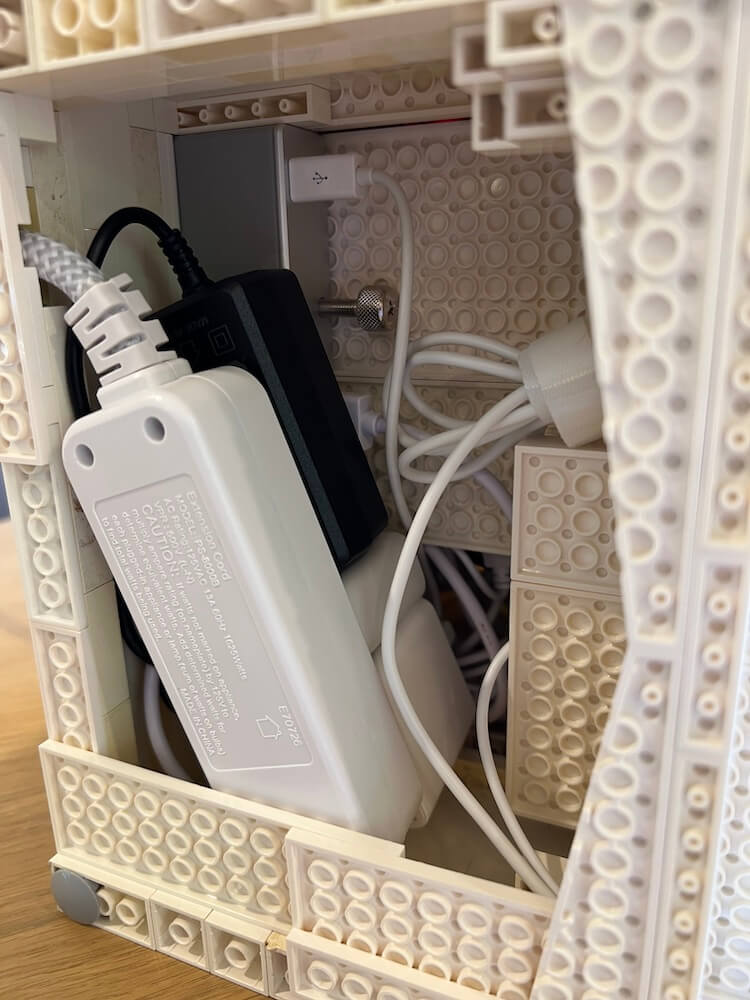
The LEGO Mac is designed with accessibility and minimal noise in mind. Wired peripherals ensure its constant readiness, with the keyboard and mouse utilizing the low-speed ports on the Pi directly. A high-speed port hosts a powered USB hub, perfect for backing up the system via a USB SD card reader or adding devices that require more power. With an aluminum passive cooling case for the Raspberry Pi (eliminating the need for a fan) and plenty of ventilation, it maintains a quiet presence, making it a perfect fit for any room in your home.
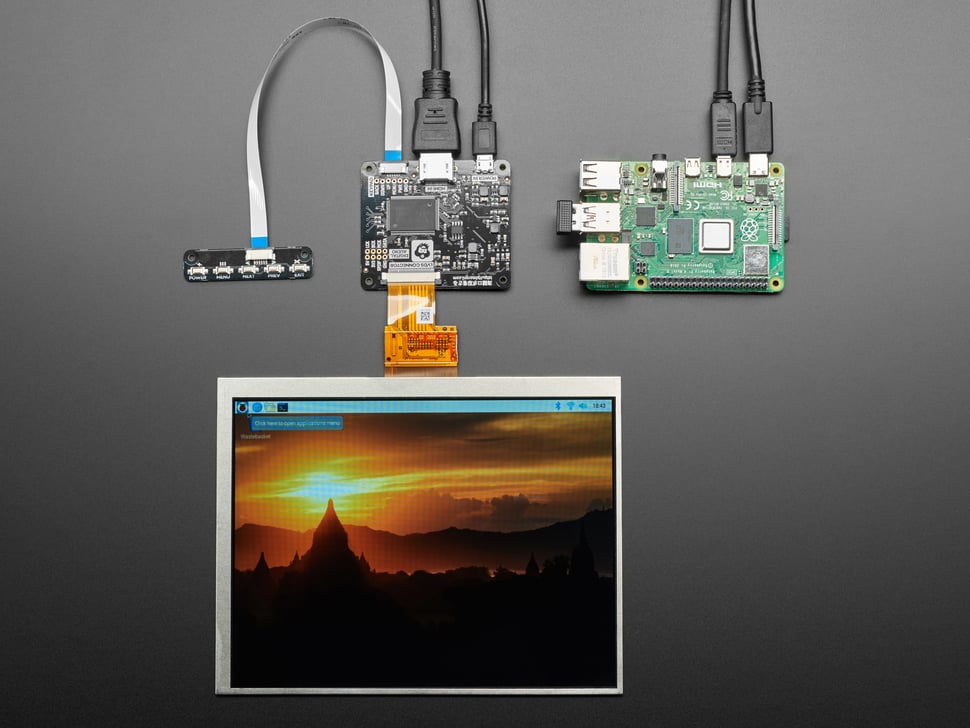
Pimoroni 4:3 aspect ratio screen
Enter the Matrix Of course, I needed to have this screensaver
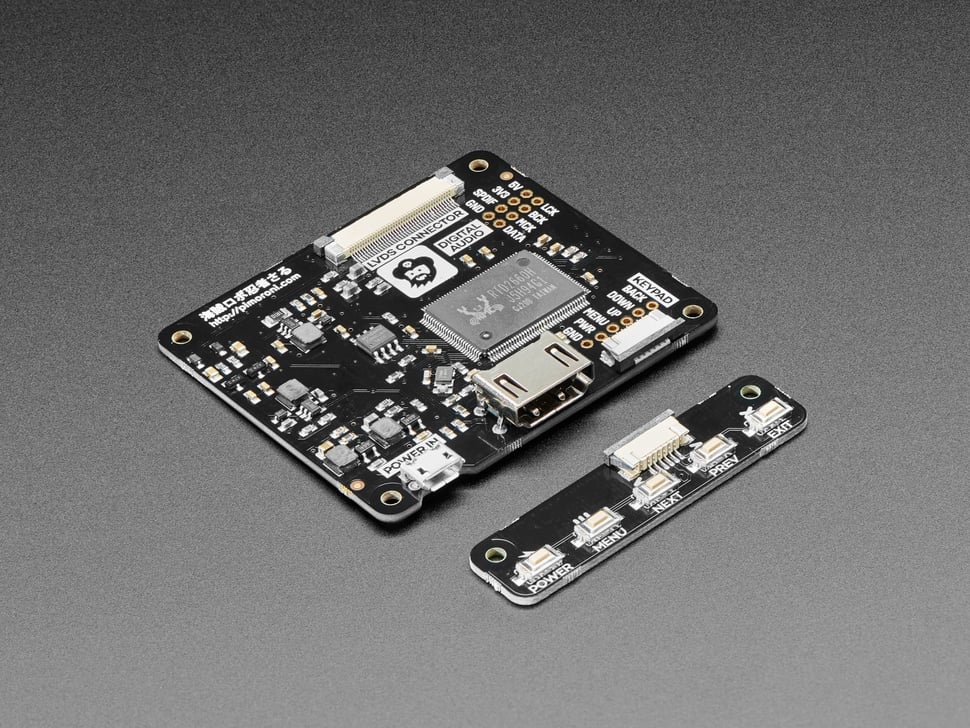
USB Hub & Display Controls
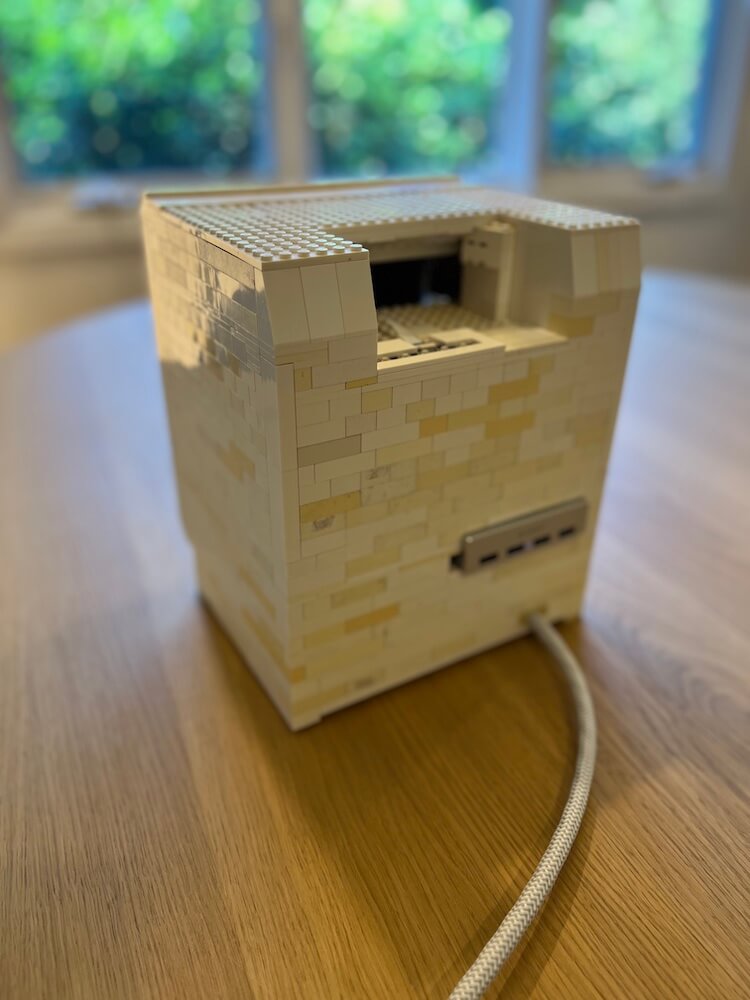
Internals
Power Strip & Powered USB Hub
SOFTWARE
TwisterOS with Big Sur Theme: Bringing the Best of Both Worlds. To bridge the gap between the past and the present, the LEGO Mac runs on TwisterOS, a 32-bit system for Raspberry Pi. This OS is compatible with the 32-bit System 7.5.5 emulator and comes pre-installed with RetroPie, along with countless other improvements, ensuring a seamless and enjoyable user experience.
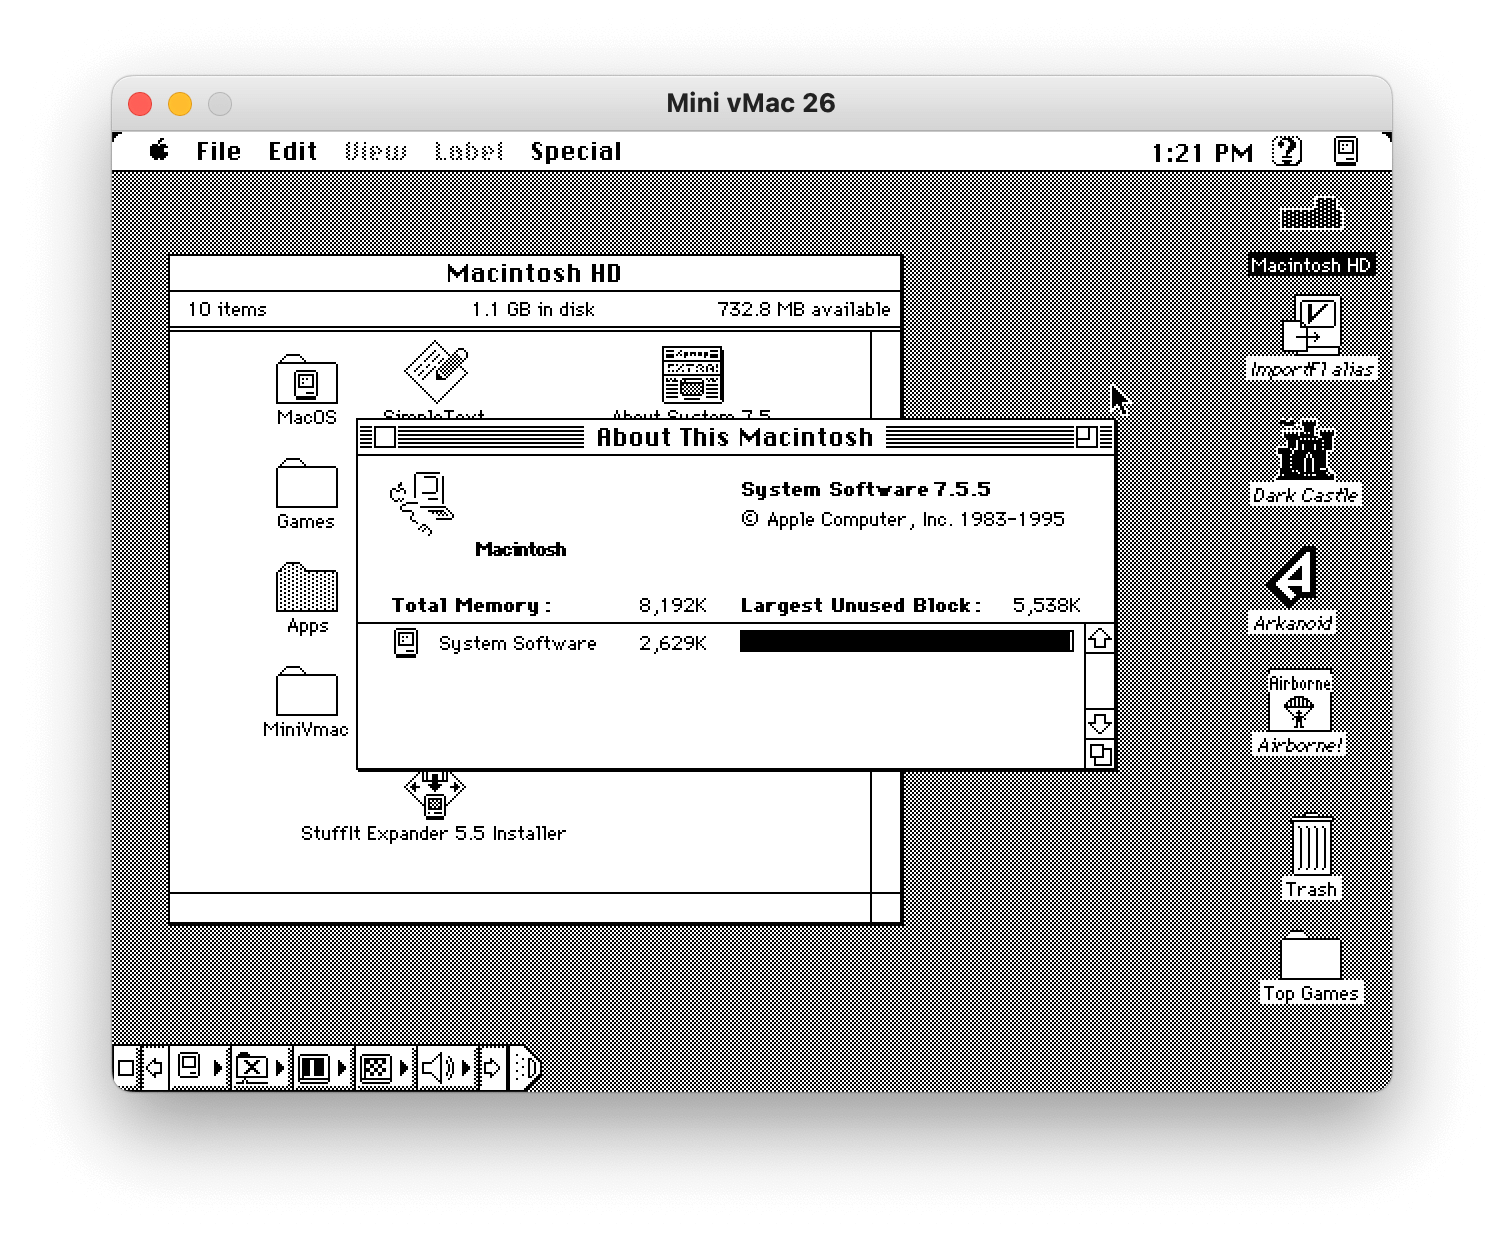
System 7.5 Emulator: Powering the Past in the Present
The heart of the retro experience in the LEGO Mac is the Arm compiled version of Mini vMac. The software setup, aided by informative tutorials from the Macintosh Librarian (view on YouTube), allows you to travel back in time to the original Macintosh era. Despite its retro aesthetic, the LEGO Mac doesn’t compromise on modern power. With a total memory that is 64 times larger than the original Macintosh, and a 1.1GB boot disk, it offers a vintage feel with the capabilities of the present.
Twister OS: Raspberry Pi 32-Bit Install followed by ‘Mac OS Theme’ (LINK)
Mac System 7.5.5. Emulator: Gryphel Project’s Mini VMac
Retro Gaming: RetroPie Included in Twister OS Install