CFO and co-founder @Accompany, acquired by @Cisco. Turnaround CFO @Ning, sold to Glam Media. Former seed VC. McKinsey trained. @Wharton School and @Haas School of Business.
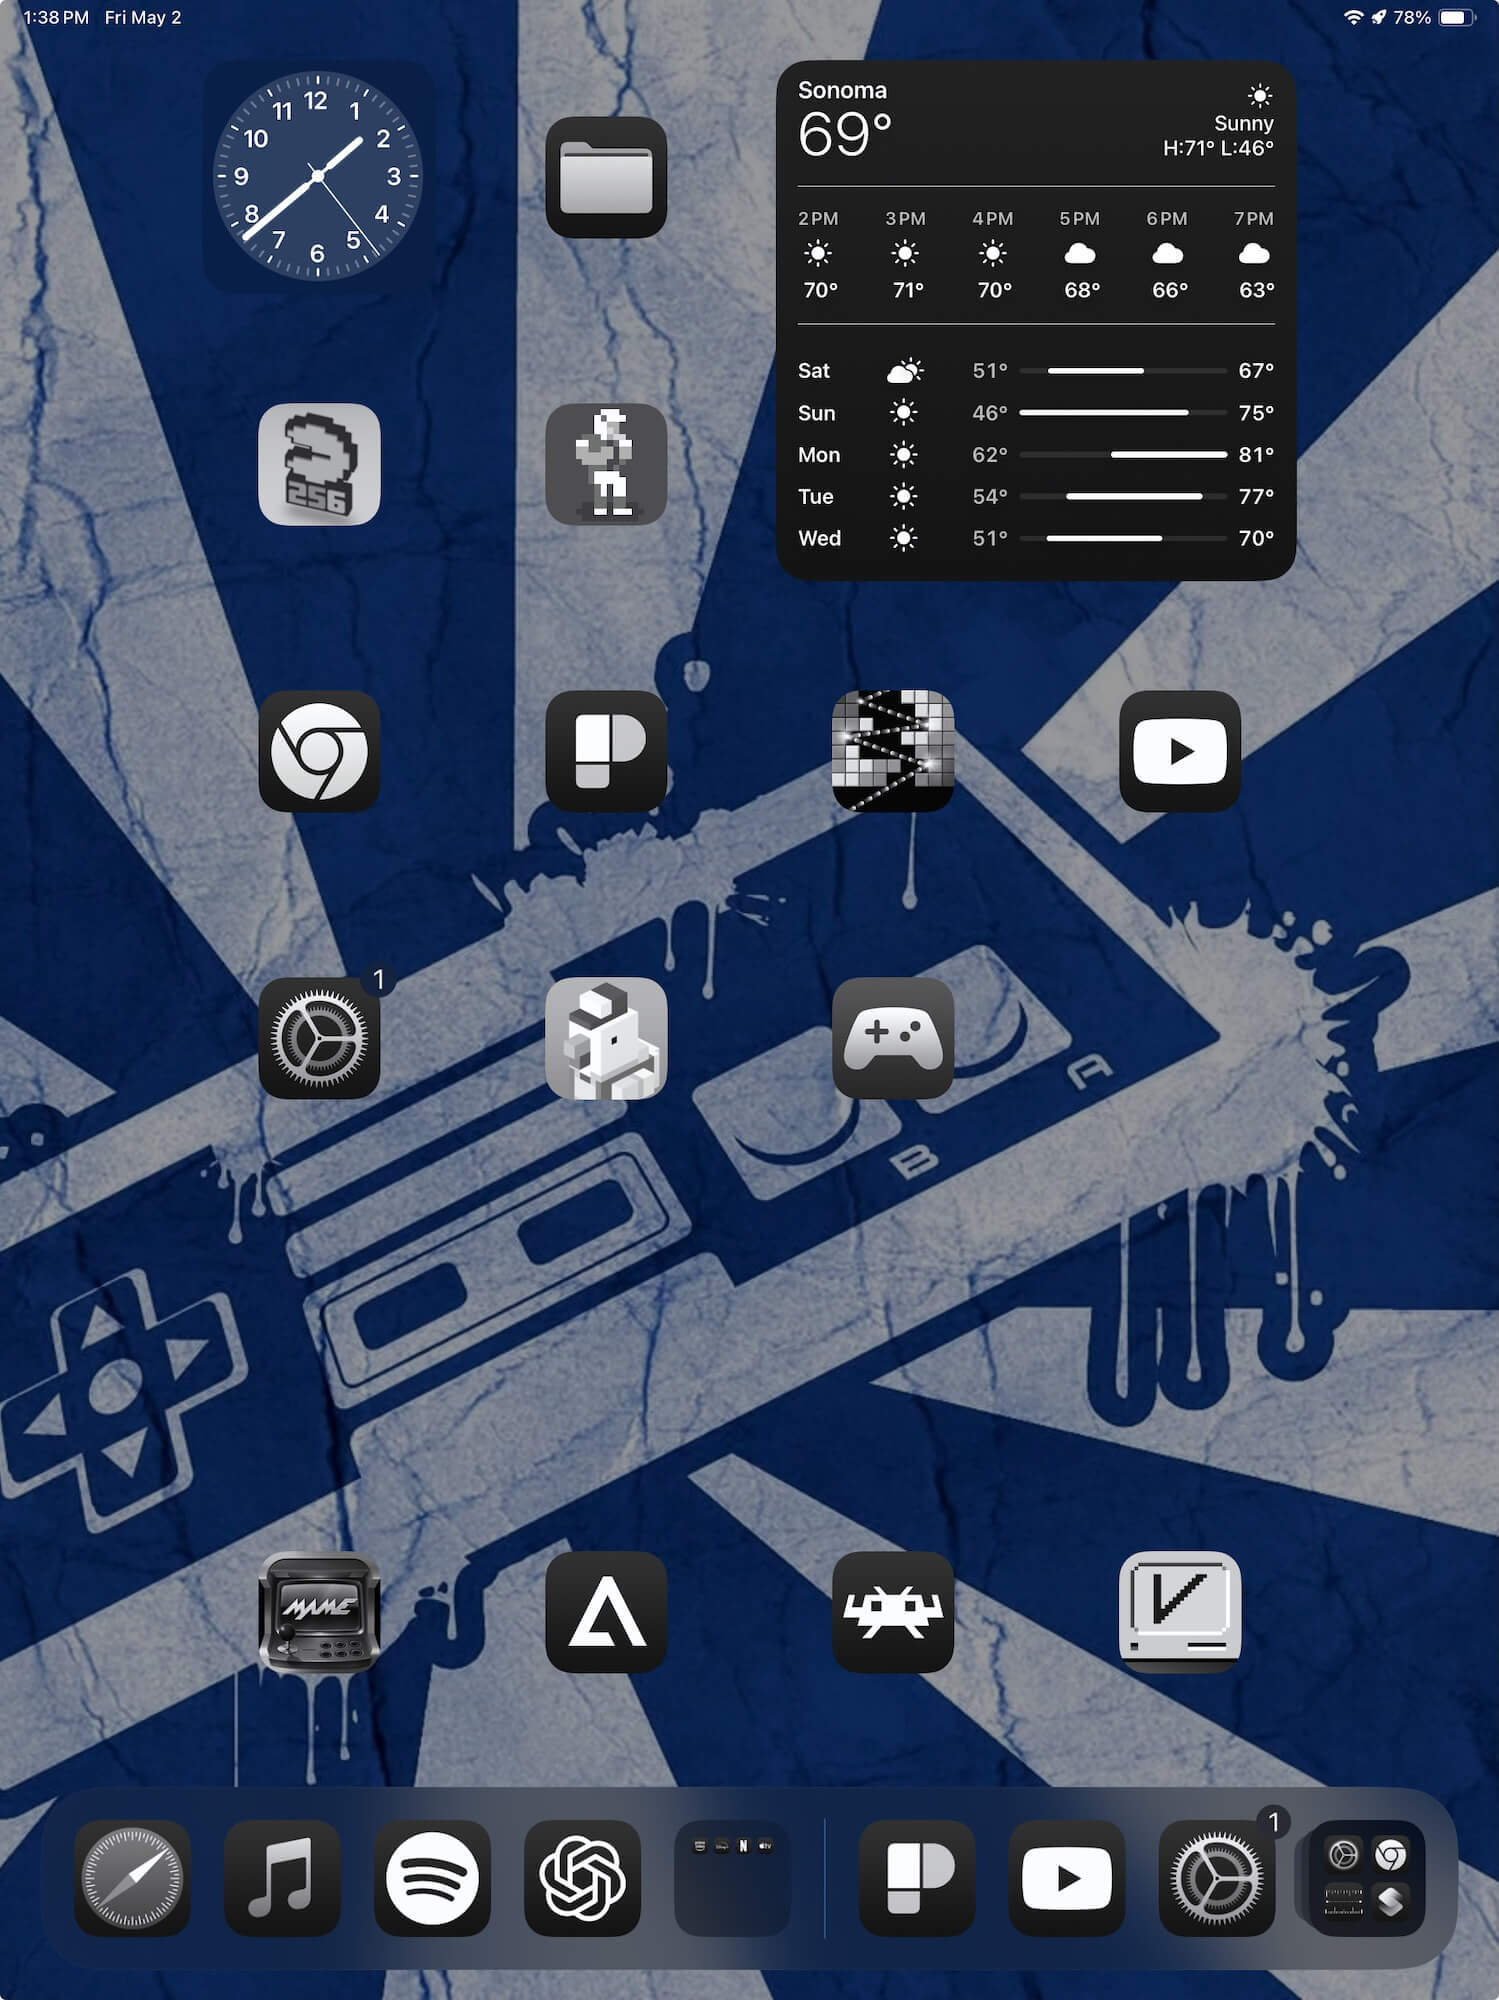
Discover the LEGOcade Pro: a custom-built tabletop arcade blending LEGO creativity with the power of an iPad Pro. Experience authentic retro gaming—MAME4iOS, Mini vMac, NES classics, and Atari adventures—with intuitive Bluetooth arcade controls and nostalgic charm.
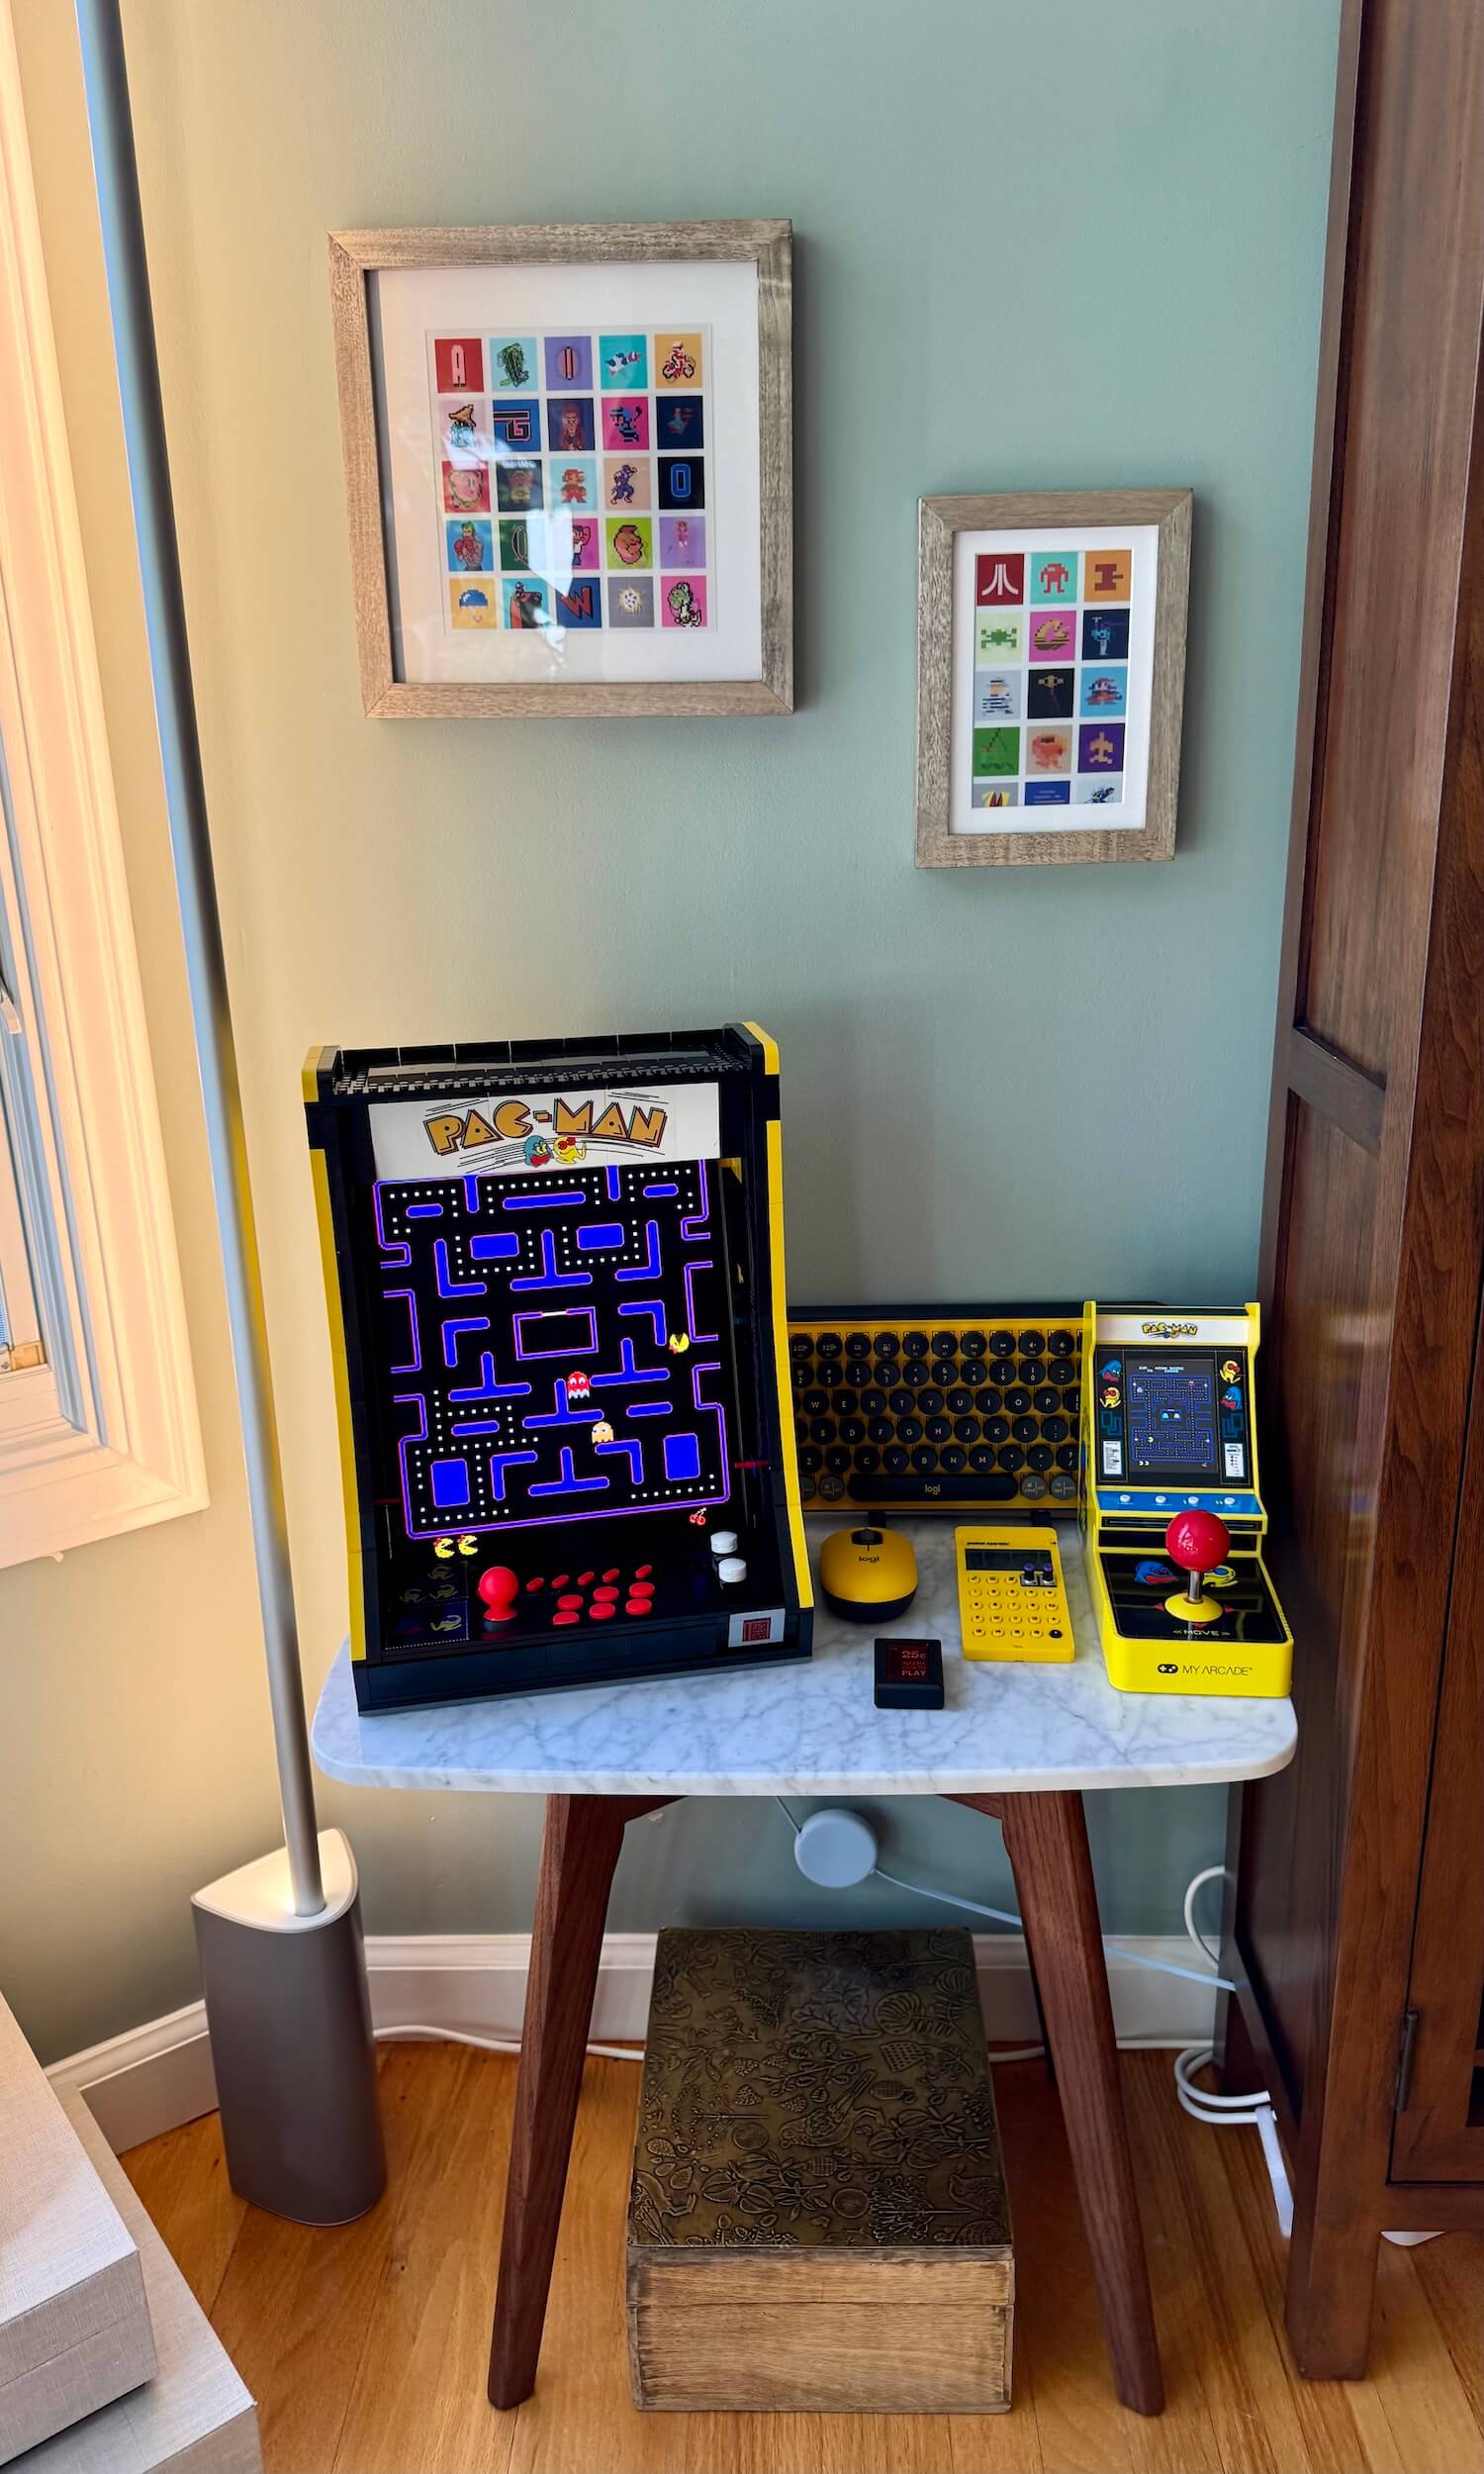
LEGOcade Pro
Introducing the LEGOcade Pro: Retro Arcade Awesomeness with an iPad Pro Twist If you’ve spent any time on Act2.art, you know I love two things dearly: retro gaming and building fun stuff out of LEGO. When these passions collide, the result is always something special. Enter the LEGOcade Pro, my latest tabletop arcade build—a nostalgic powerhouse built around an iPad Pro, LEGO bricks, and a fully functional arcade joystick. Trust me, it’s as fun to play as it was to build.
Why Build the LEGOcade Pro?
Simply put, I wanted to recapture the magic of early ’80s arcade gaming but in a form factor that fits perfectly on my desk. After playing around with MAME4iOS and Mini vMac on my 12.9″ iPad Pro, I discovered just how brilliantly it could emulate classic arcade games. So when my older, non-Apple Silicon iPad Pro became available, it seemed destined to become the heart of this ultimate retro gaming machine.
The Build: LEGO Bricks & Hardware Hacks
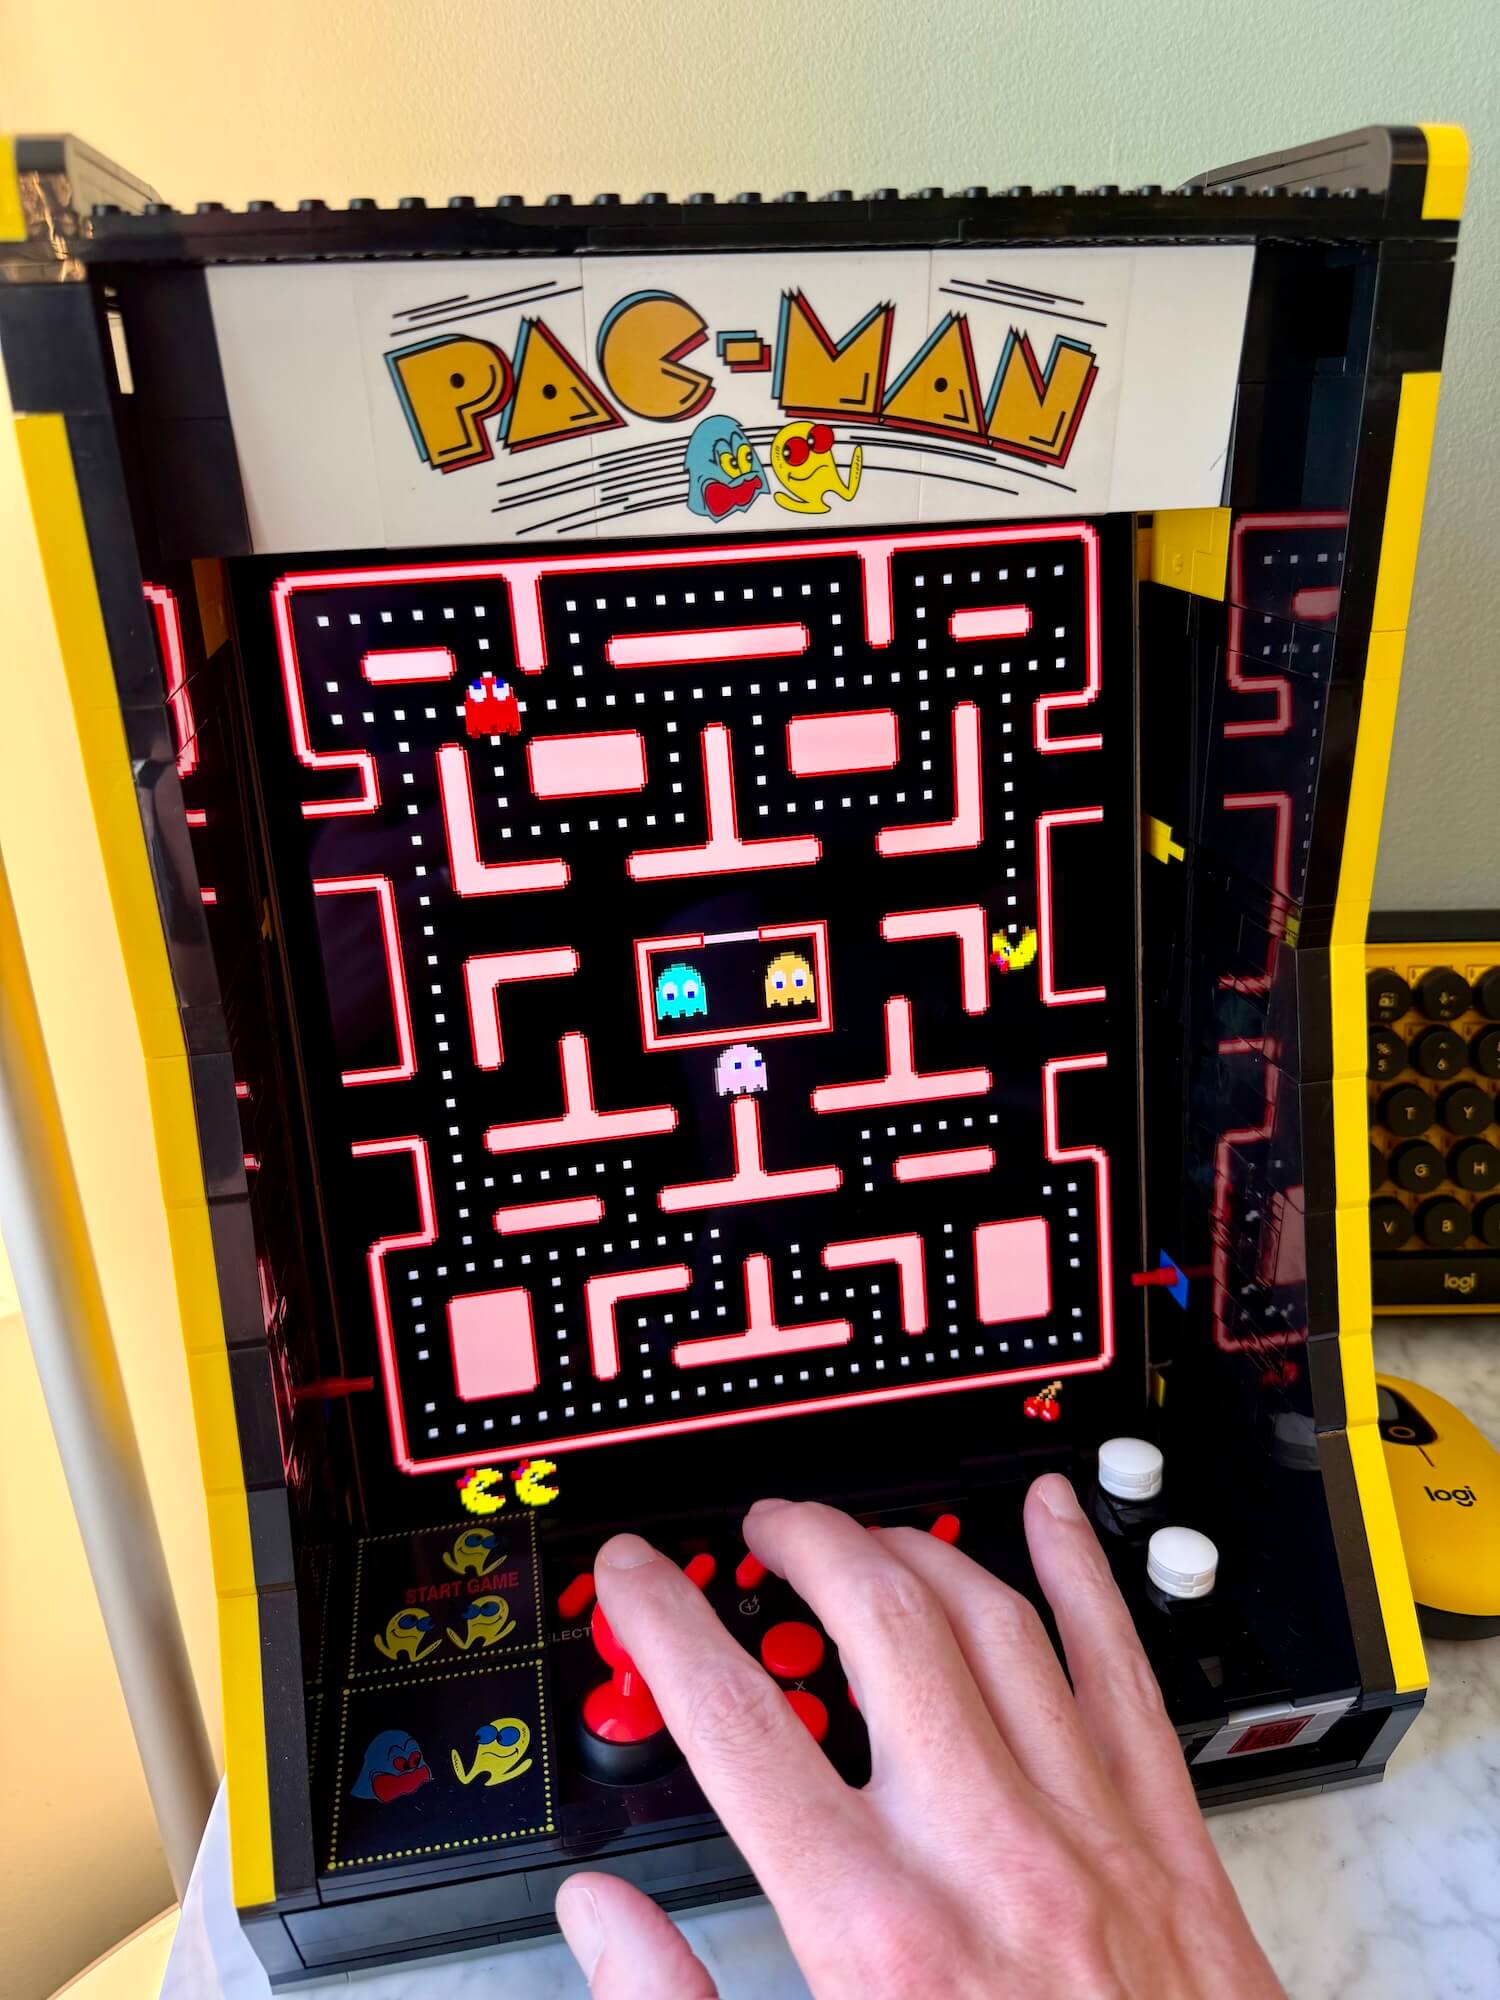
The base of this project was a knockoff LEGO Pac-Man arcade cabinet kit from AliExpress. Sure, authentic LEGO sets offer better brick quality and easier assembly, but since I planned on heavily modifying it, the knockoff was an economical starting point—even if it meant dealing with unordered bags with thousands of bricks.
To accommodate my large 3rd generation 12.9″ iPad Pro, I extended the arcade cabinet 4 studs wider and about 1 inch taller, providing enough room to insert and remove the device easily. But the real challenge—and fun—was integrating the arVin Arcade Fight Stick joystick. I took apart the joystick, drastically reduced its housing with a multitool, and redesigned the control panel to maintain the LEGO aesthetic.
Cable management involved some clever improvisations, including a magnetic USB-C adapter, a 90-degree angled connector, and a retractable charging cable. Now, my iPad stays charged but pops out easily when I want to use it for something else, like flipping through digital retro gaming manuals or vintage magazines in the Panels app.
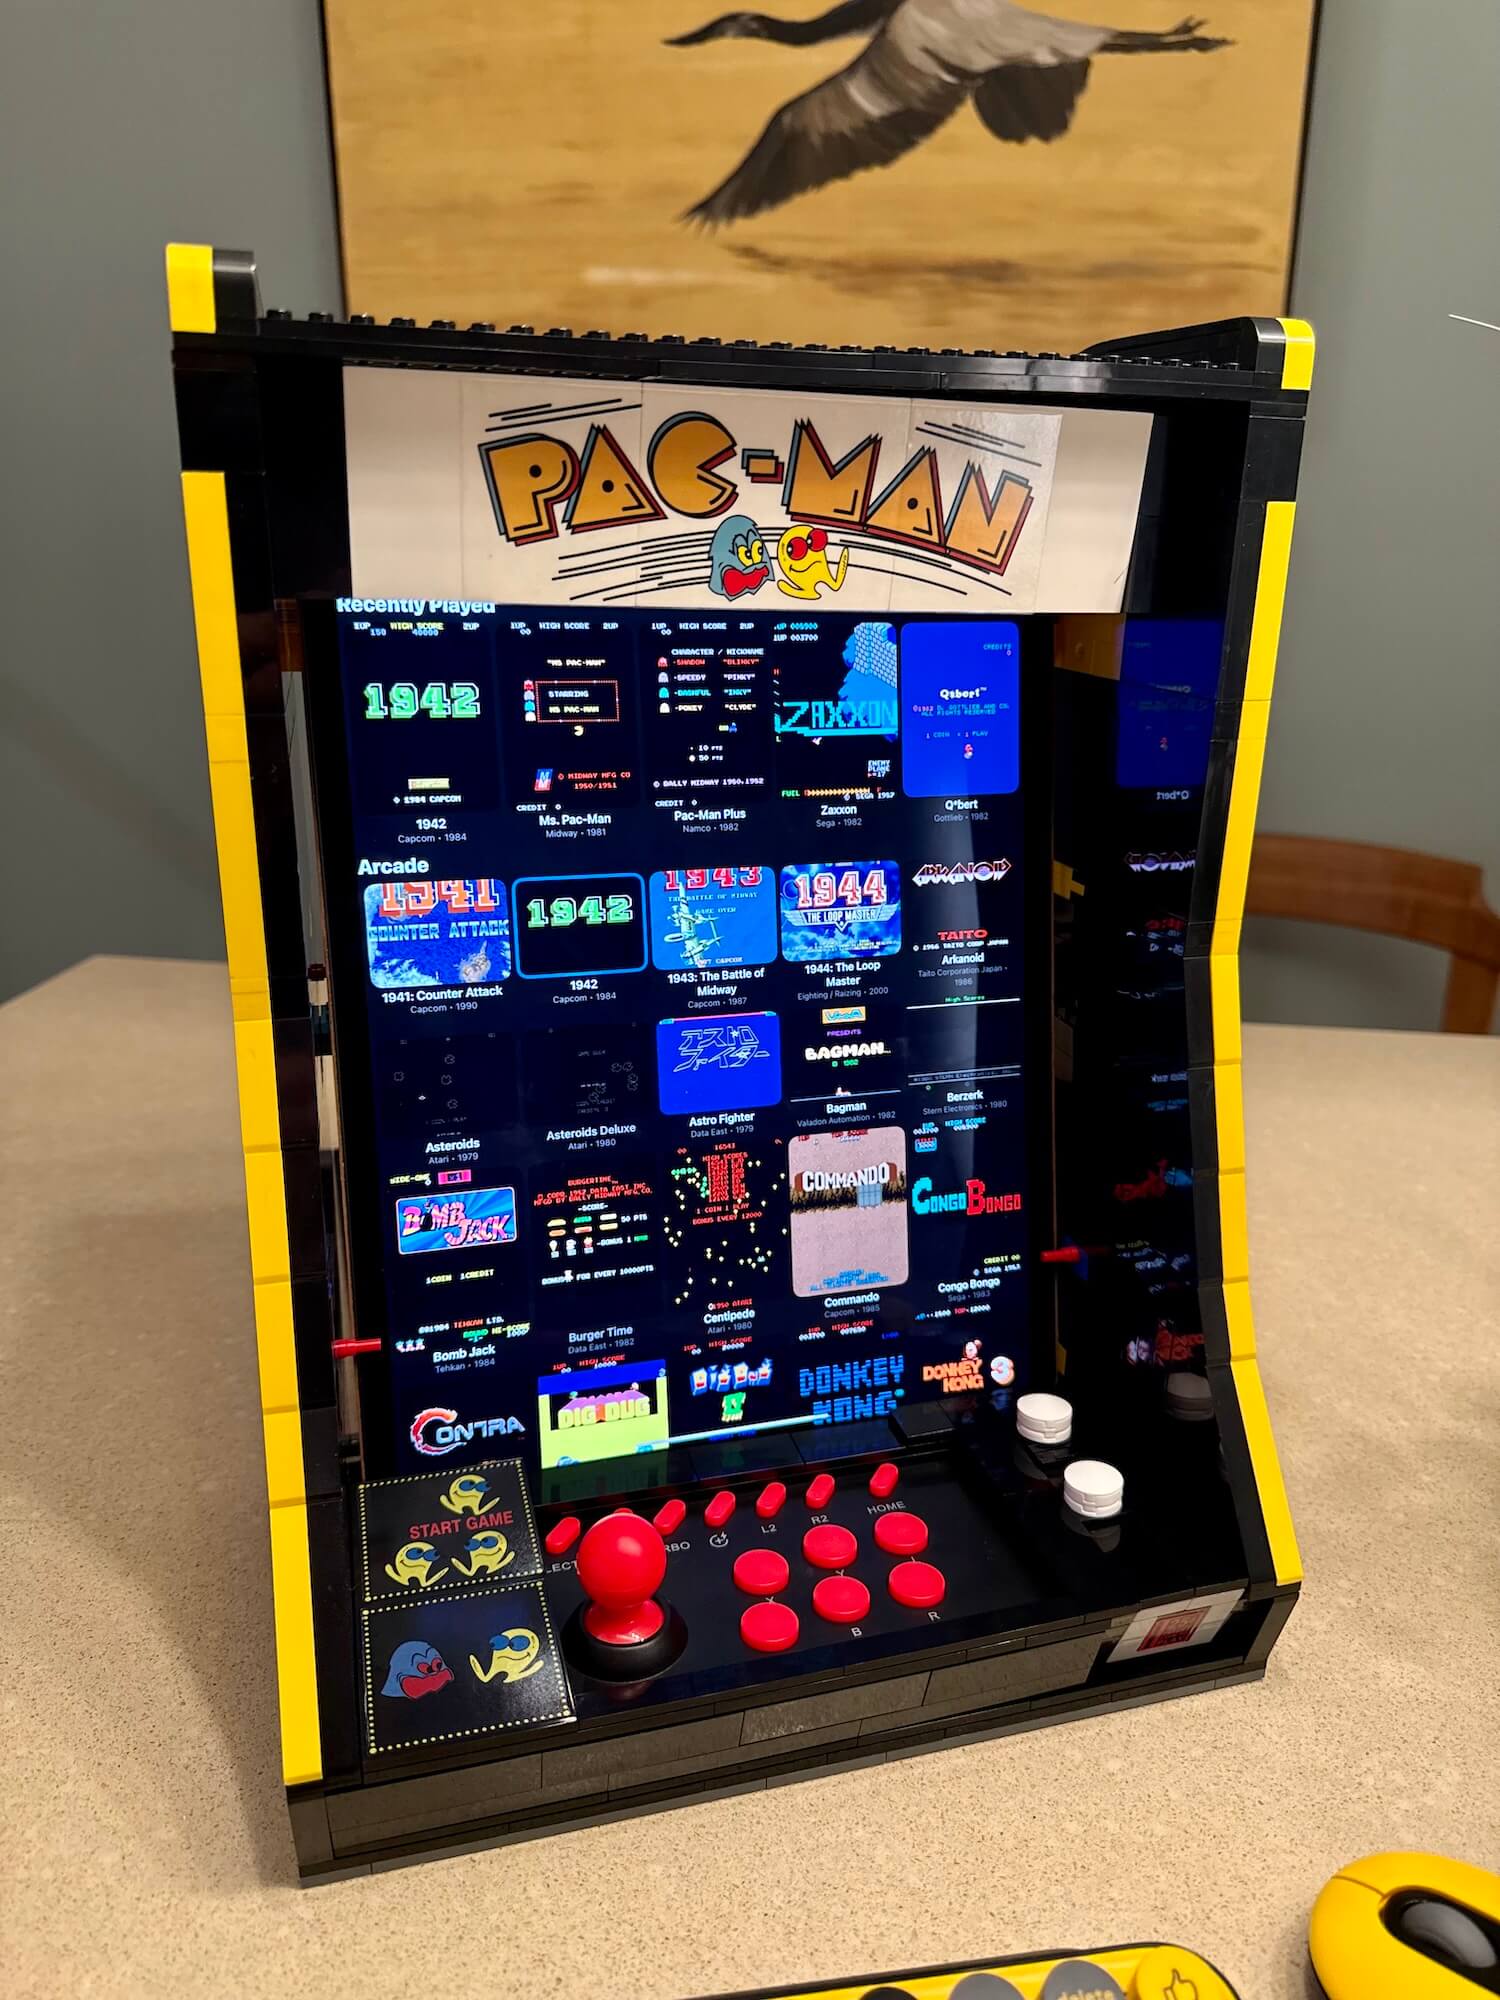
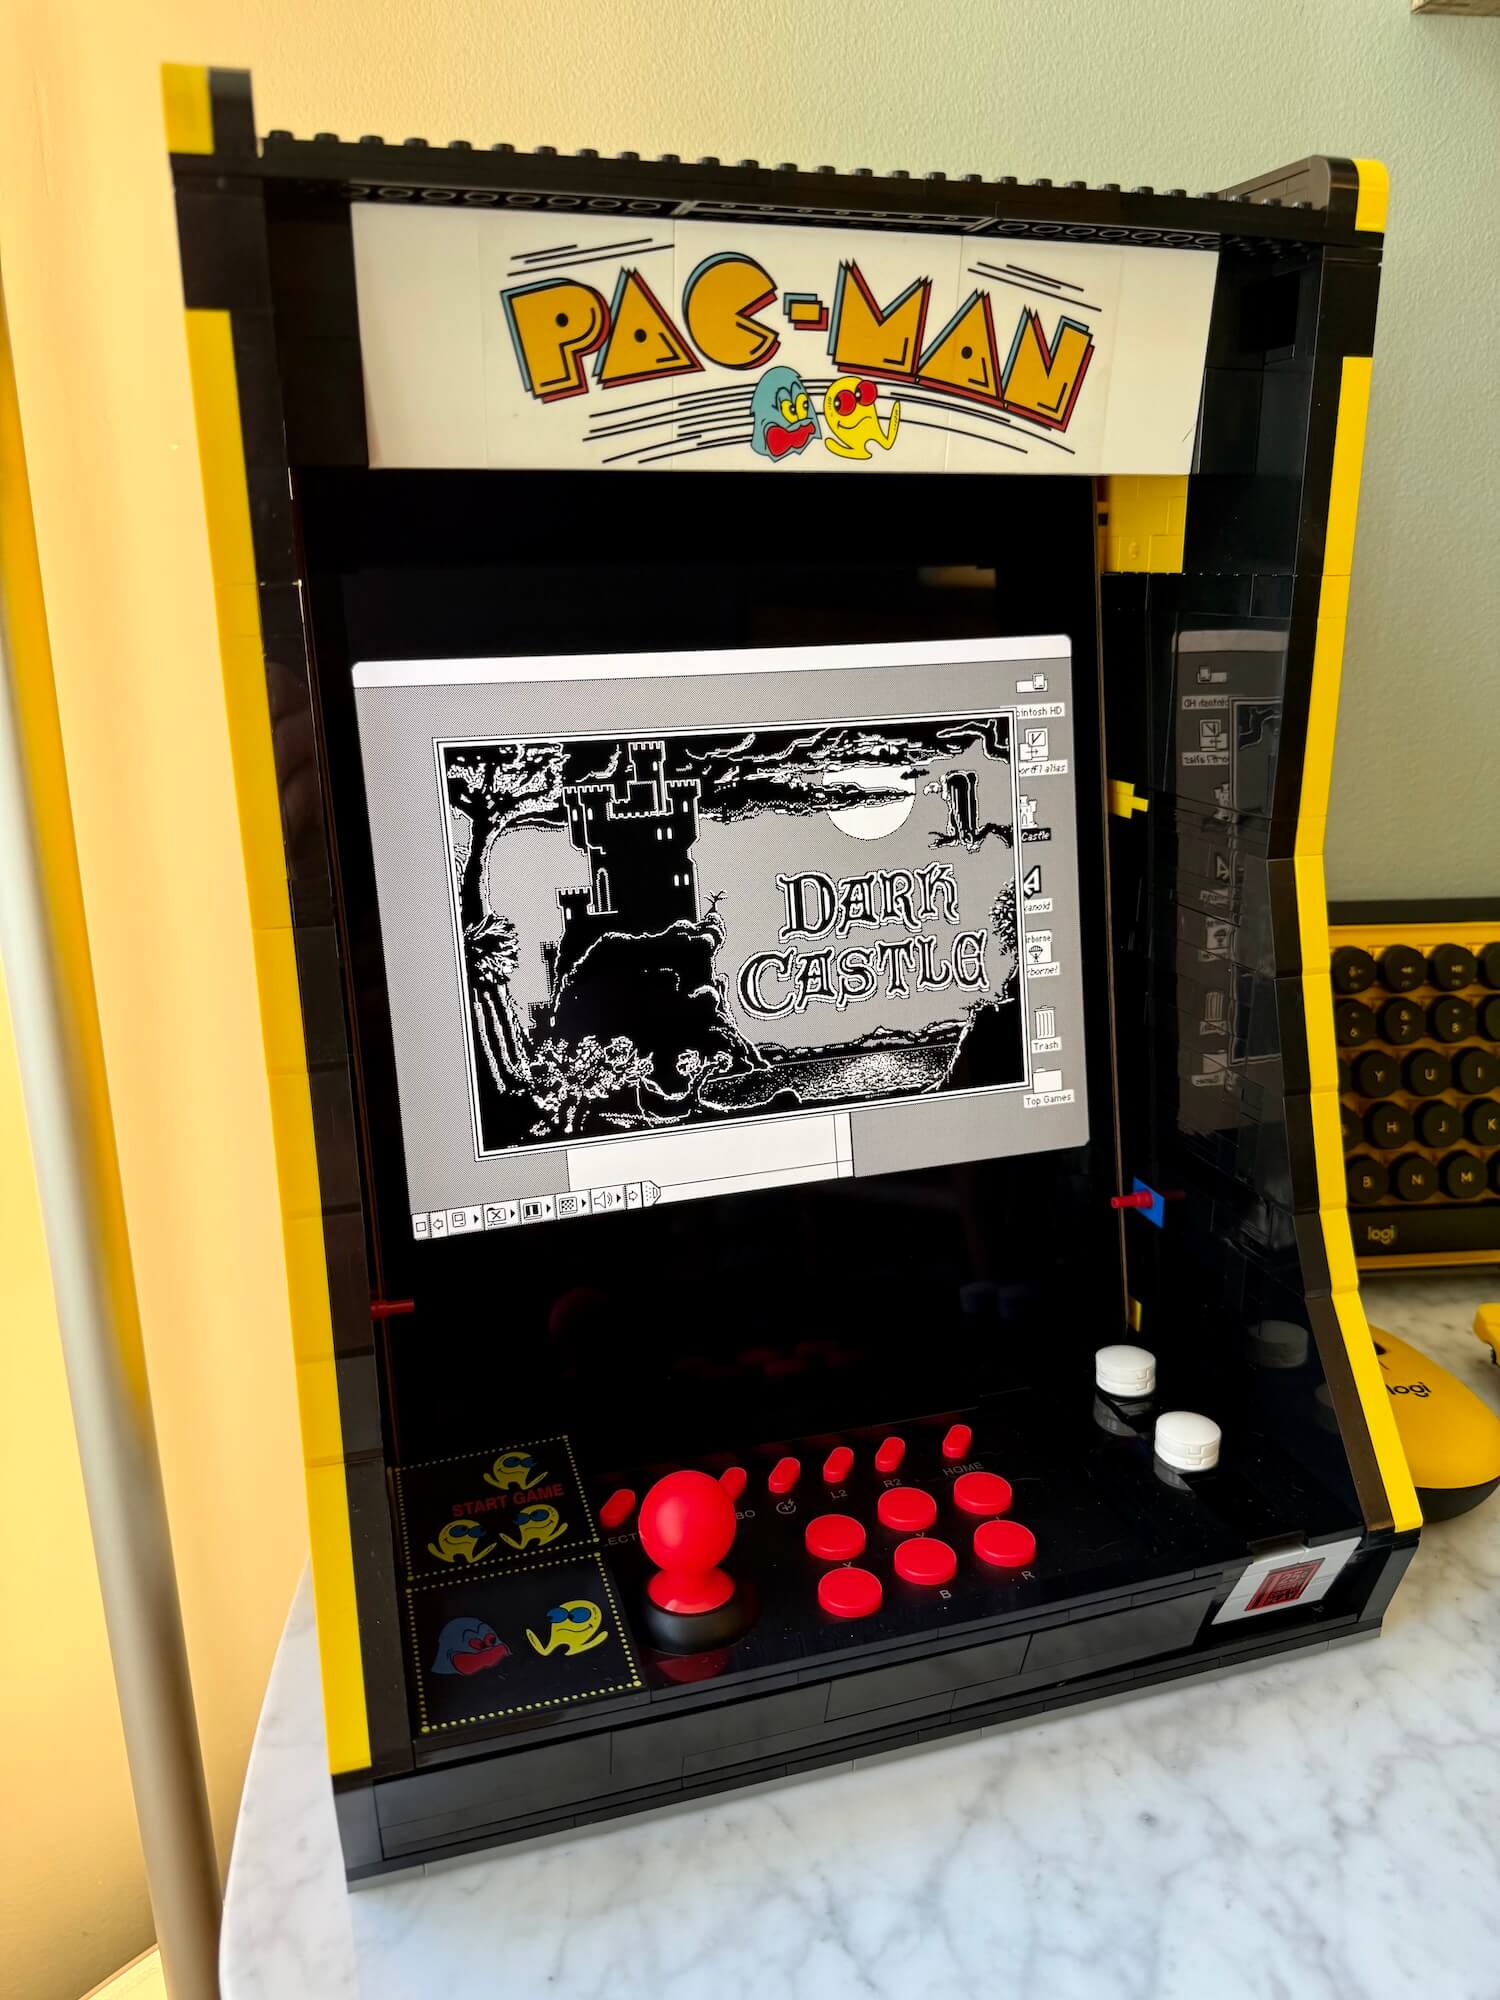
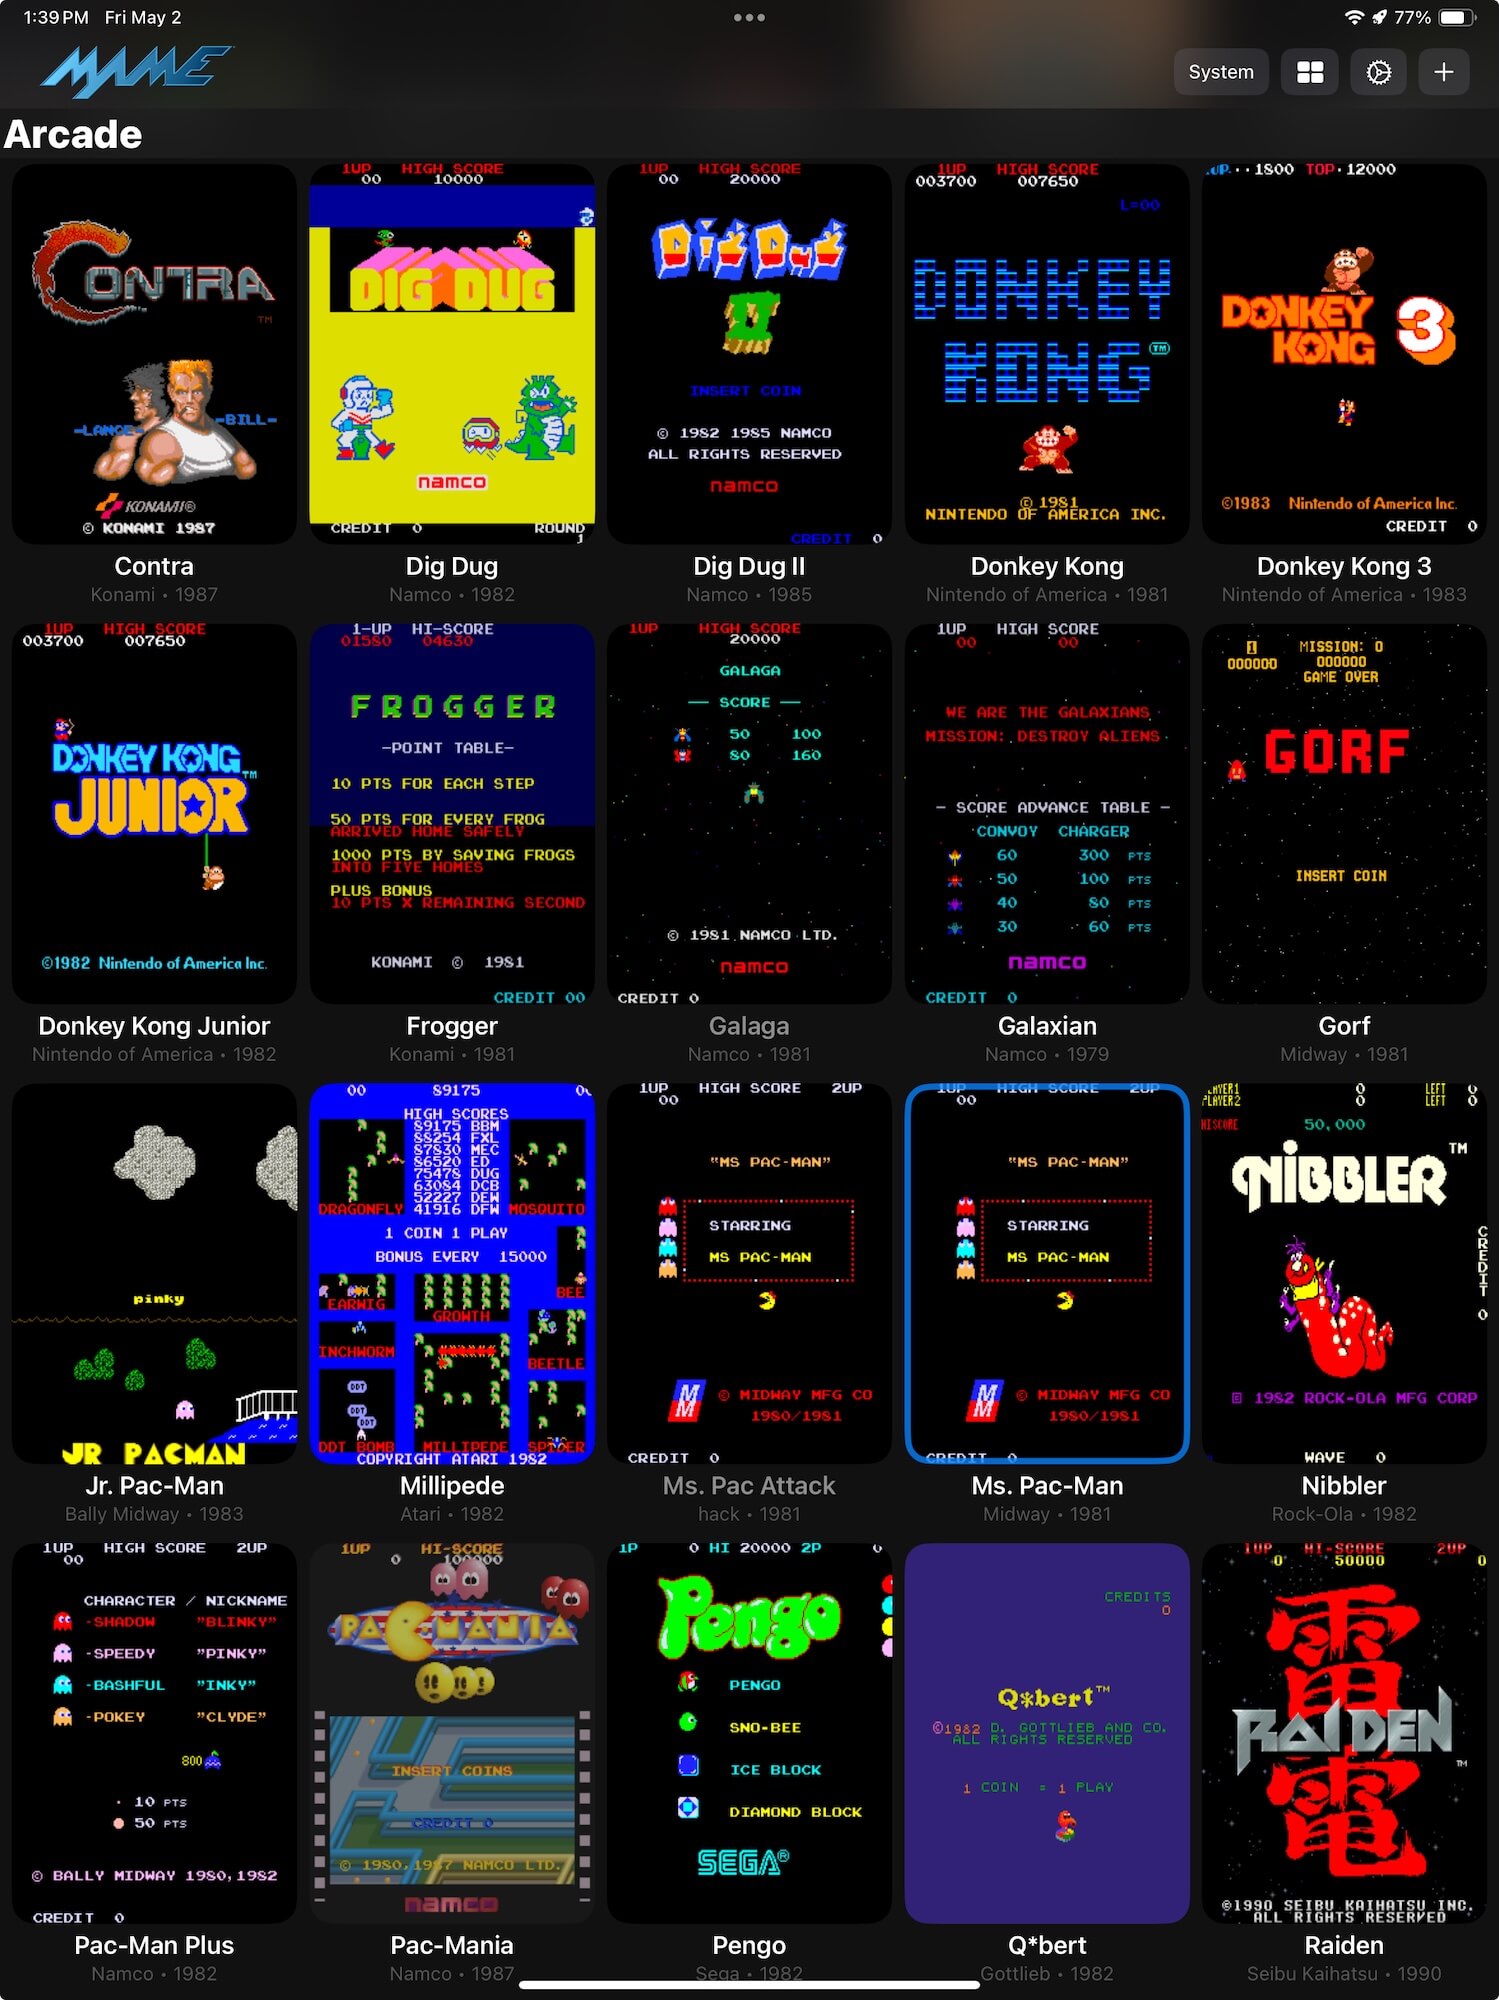
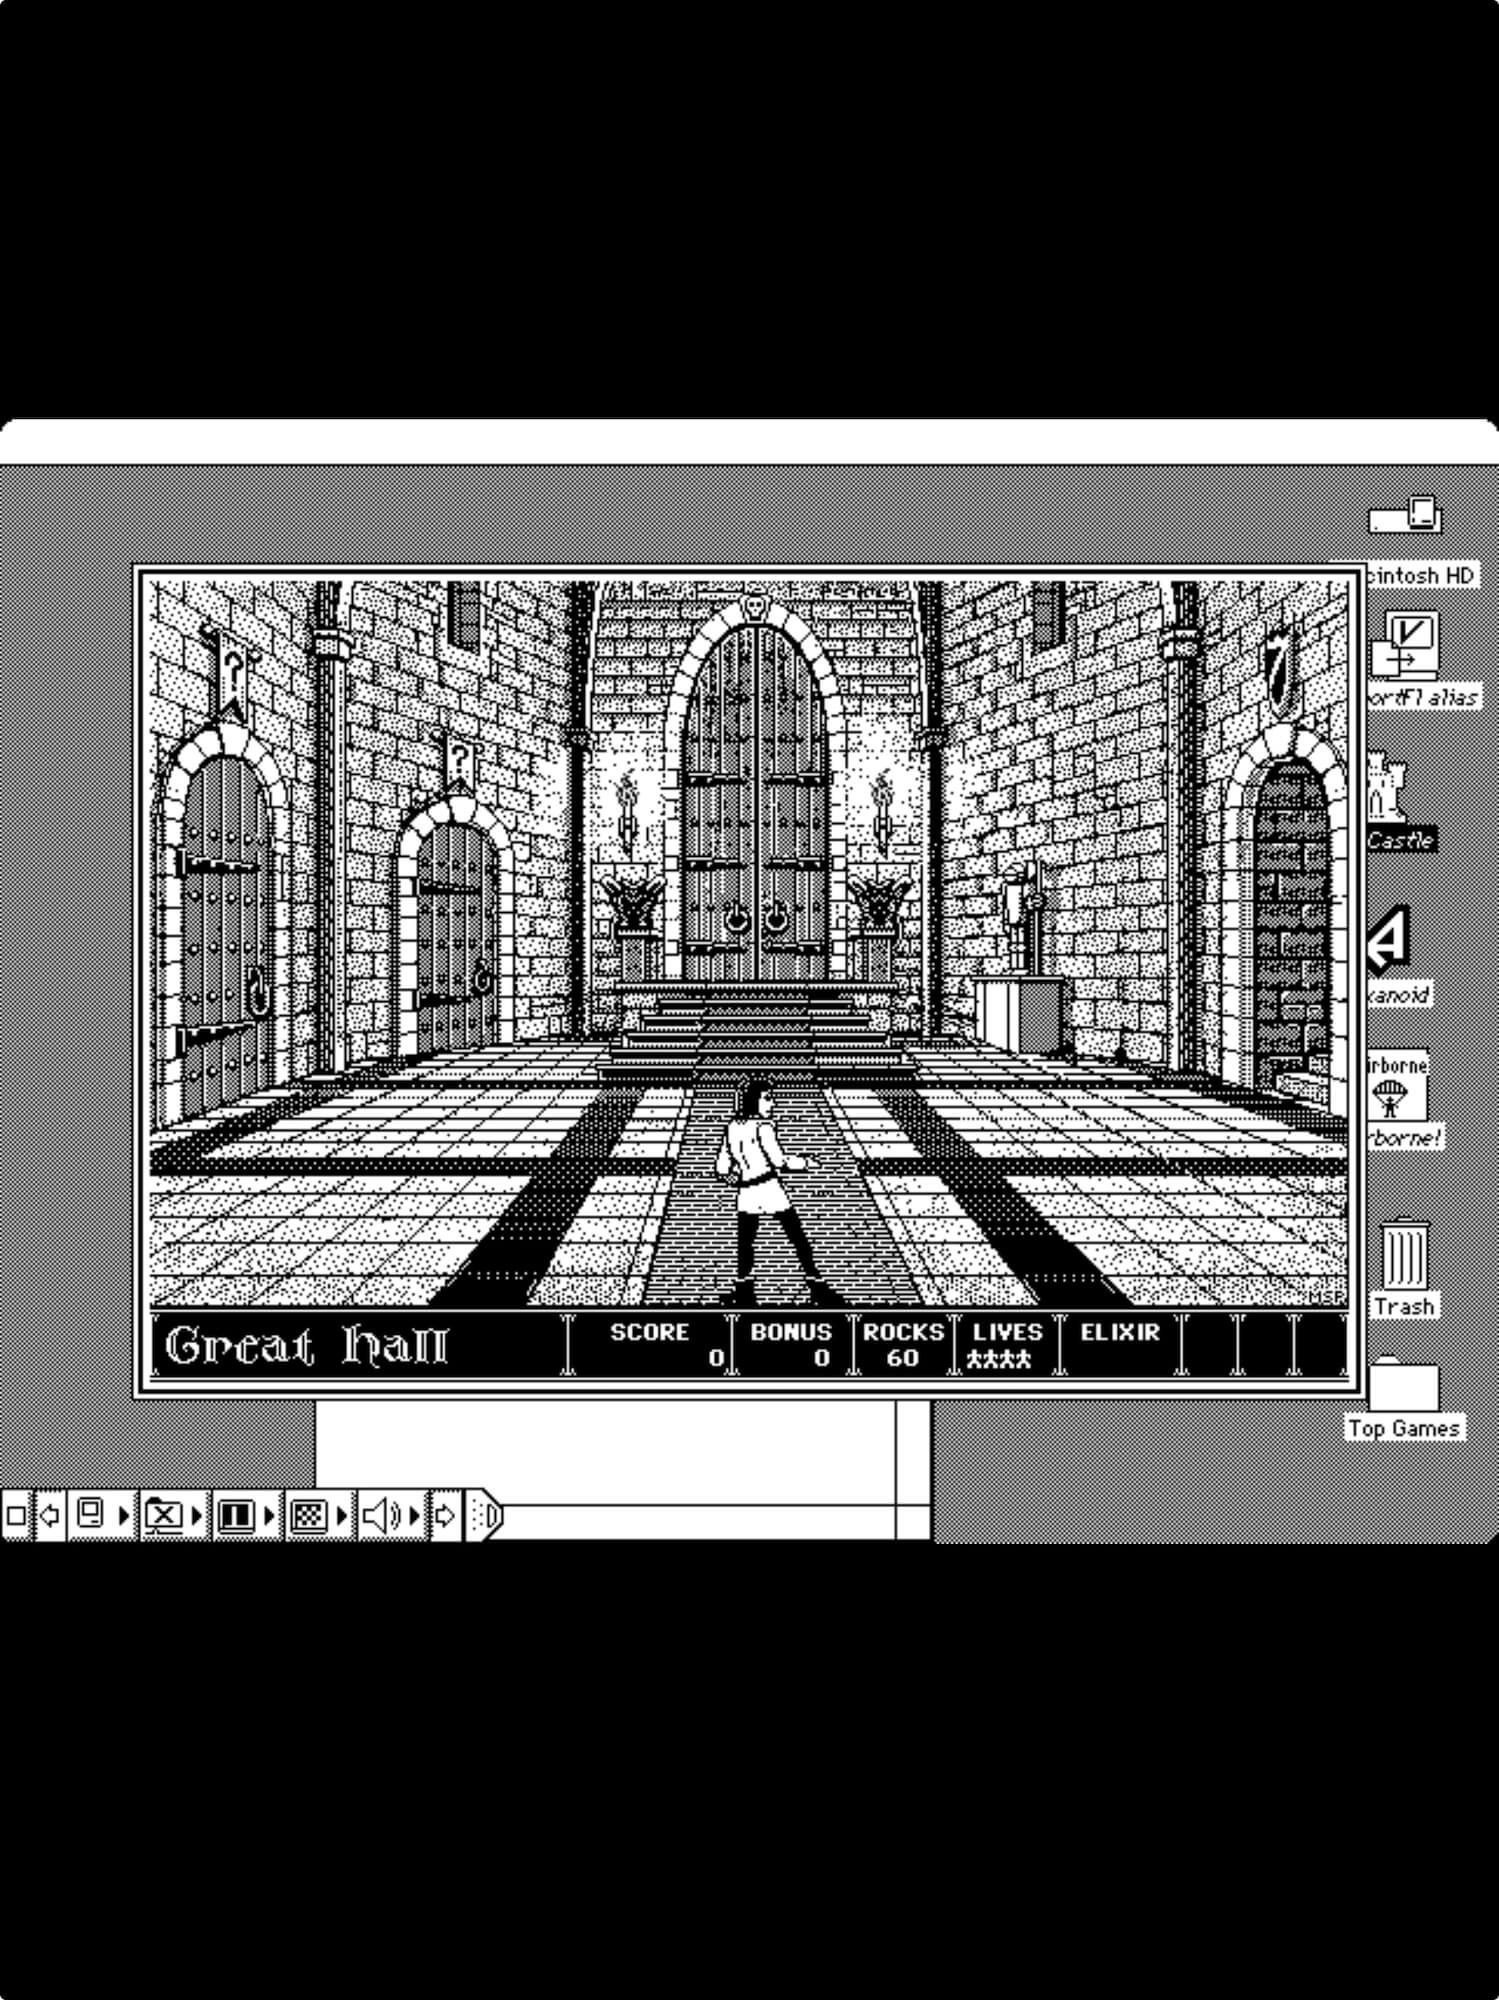
Screen Grabs
Game On: Software & Controllers
My gaming setup includes several handpicked emulators and controllers for the perfect retro experience:
MAME4iOS lets me dive into a vast collection of classic arcade games. (Pro tip: ArcadeMania on the App Store uses the same MAME4iOS code if you'd rather skip the DIY route.)
Mini vMac runs classic Mac games like Dark Castle, customized to perfectly center vertically on the bright yellow LEGO backdrop—thanks to some handy coding tweaks from ChatGPT.
Delta Emulator provides seamless NES gaming across my devices, pairing beautifully with my favorite 8BitDo SN30 Pro controller for authentic gameplay.
For Atari 2600, I bounce between Provenance and RetroArch, each offering its unique strengths.
The Bluetooth-connected arcade joystick provides an authentic arcade feel, responsive gameplay, and is easy to recharge. For multiplayer NES sessions, I’ve got two 8BitDo controllers ready for action.
Nostalgic Touches & Modern Fun
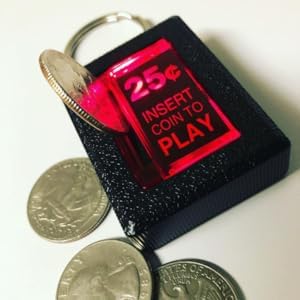
What really brings the LEGOcade Pro to life are the authentic arcade decals and thoughtful touches—like the illuminated “Insert Coin” button that adds a charming arcade authenticity. A miniature Pac-Man joystick console keeps waiting players entertained, echoing the old-school tradition of placing quarters on the screen.
For ambiance, I loop a four-hour Ms. Pac-Man high-score video on YouTube as a screensaver. Sure, the cabinet might scream Pac-Man, but who can resist Ms. Pac-Man’s superior gameplay?
Challenges & Lessons Learned
Like any ambitious project, the LEGOcade Pro evolved significantly from my original plans. Initially, I envisioned a taller, removable joystick setup, but once I cracked open the joystick casing, a major redesign was necessary. Embracing these challenges—and occasionally diving head-first into multitool modifications—made the project even more rewarding.
If you’re inspired to build something similar, remember: adaptability and improvisation are your best friends. Even a simple emulator setup can deliver hours of nostalgic joy.
Ready for your own LEGOcade adventure? I’d love to see how your versions turn out or hear about your own retro gaming adventures. Happy building—and gaming!