Step-by-Step Guide
1. Choosing Your Retro Inspiration
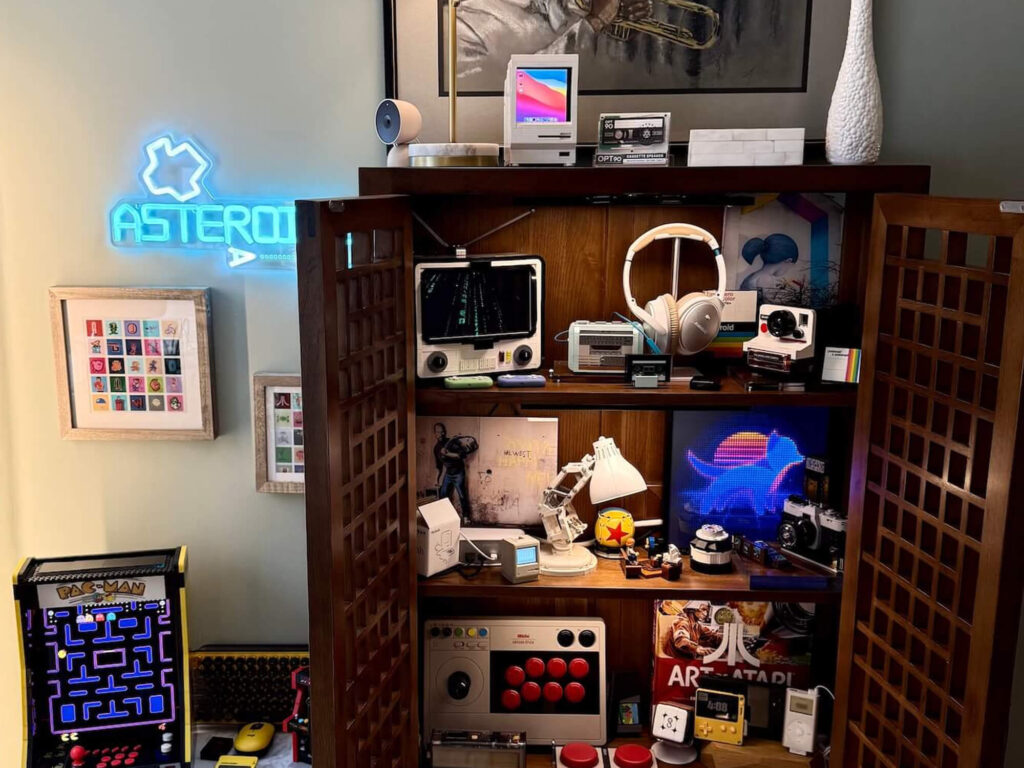
Begin by selecting a device or technology that holds a special place in your heart. Whether it’s an old computer (like my LEGO Mini Mac), a Polaroid camera (see my LEGO Polaroid Printer project), or a classic game console, the personal connection drives the project’s success. The more meaning behind the device, the more fun you’ll have with the process.
2. Designing the Build
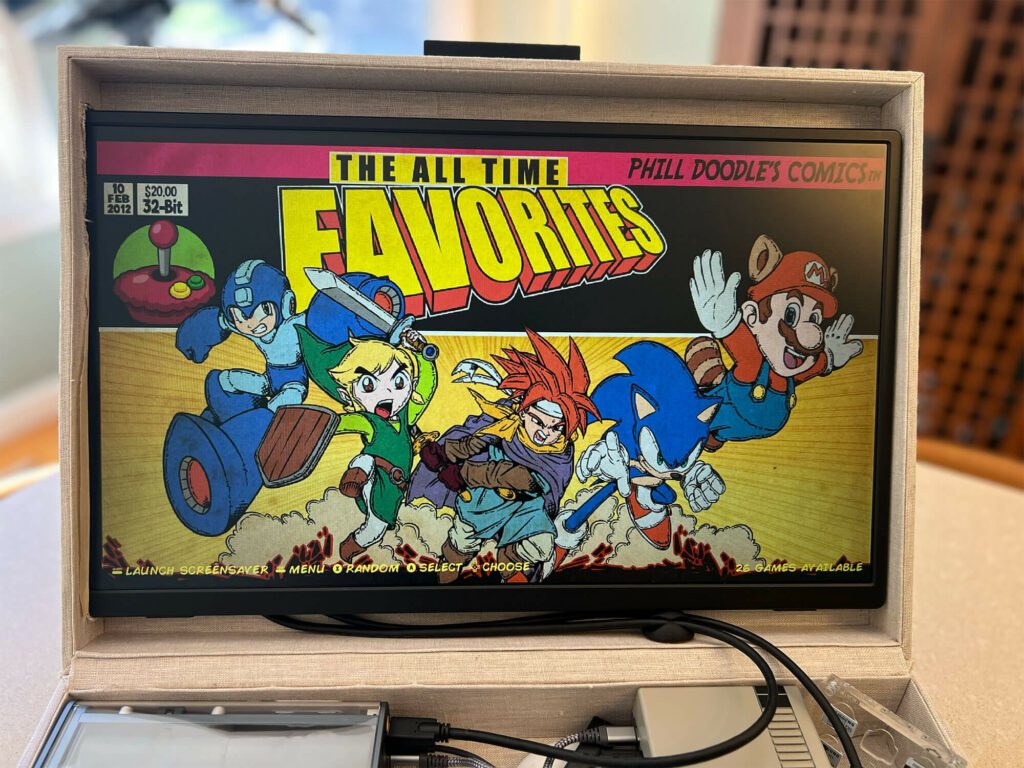
Whether you’re constructing from scratch or hacking an existing device, always aim for balance. My Nostalgia Box XL was built inside a Marie Kondo x Container Store box, housing both a modern Raspberry Pi 4B and an 18.5″ screen, keeping the form simple yet functional. When designing your build, focus on both aesthetics and practicality, ensuring it has space for all your components.
For something like the Mini Mac, LEGO offered a modular way to physically recreate the look of the original Mac. For other projects, you might consider 3D printing, repurposing vintage shells, or even modifying existing toys.
Pro Tip: Sketch out a blueprint of your project, marking where all modern components (like screens, speakers, or ports) will fit within the retro design. This will help you visualize the marriage of old and new tech. For the Mini Mac, I printed the original Mac 128K blueprint to scale (adjusting for the 4″ screen) for both the LEGO build but also to ensure the Raspberry Pi and screen would fit.
3. Integrating Modern Tech
Using the Raspberry Pi is a common method for adding modern functionality to retro projects. For example, the LEGO Retro Radio uses a Pi Zero 2W with a Pimoroni HAT to connect with dual speakers to internet radio streaming capabilities. Similarly, the Polaroid Printer project integrates a Polaroid Hi-Print portable printer, adding a modern twist to an iconic instant camera design.
4. Software & Emulation
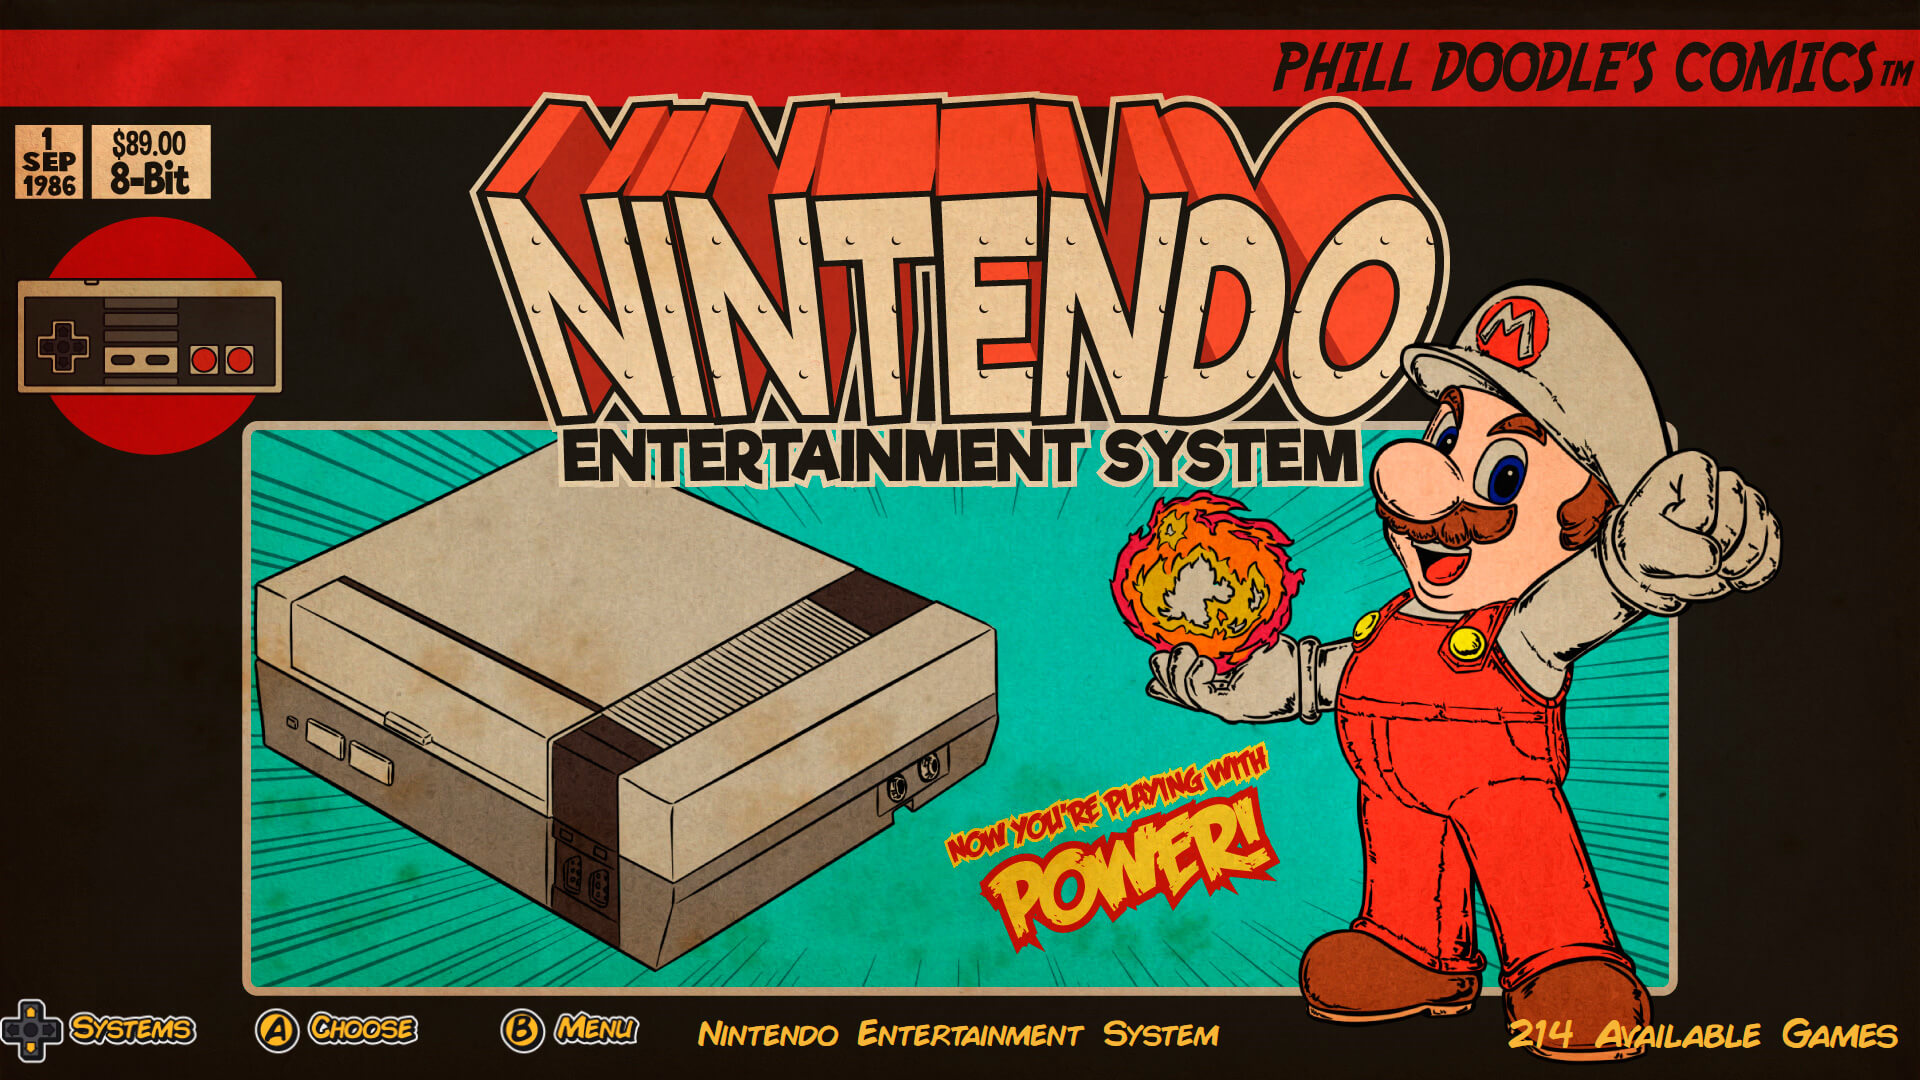
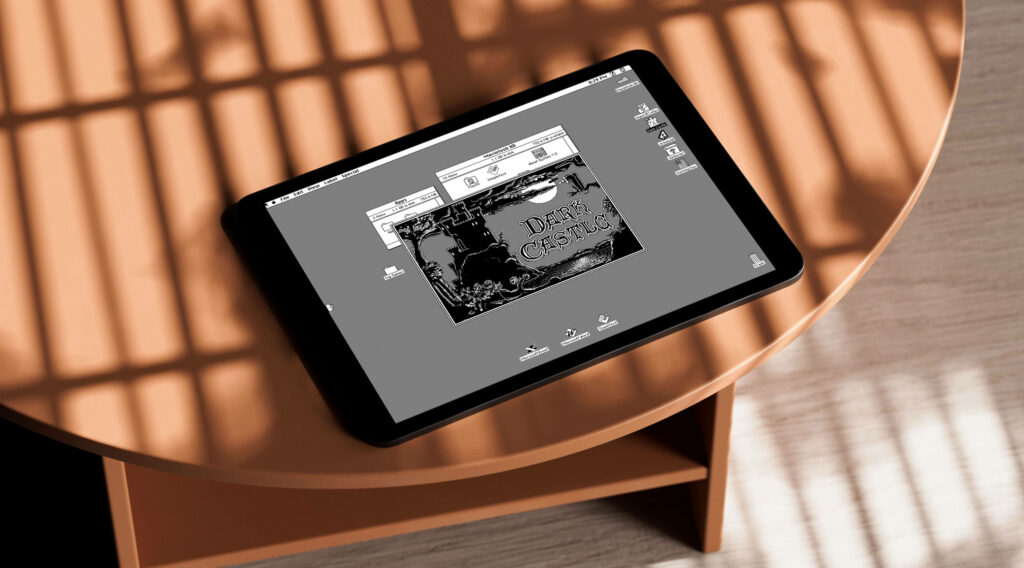
Setting up software can be the trickiest part. For my LEGO Mac project, I used TwisterOS with a Big Sur theme for a retro look and feel while keeping modern-day usability. In many of my projects, like the Raspberry Wine project, I’ve installed RetroPie for gaming emulation, making it easy to run classic games. Whether you’re setting up an emulator like Mini vMac for old-school Mac functionality or gaming systems via RetroPie, the key is finding the right balance between nostalgia and convenience.
Tips for Success
Sourcing Retro Materials
For parts, you can find amazing vintage tech on websites like eBay, Etsy, or even local thrift stores. You can also customize your builds—my upcoming Elektronic 409D project used a combination of new and old components to recreate the iconic look of a vintage TV set.
Balancing Old and New
In projects like the Polaroid Printer and Nostalgia Box, I blend old-school charm with modern-day hardware. The goal is to preserve the visual and tactile aspects of the original devices while integrating contemporary tech—whether that means adding wireless printing or using Bluetooth-enabled speakers.
Conclusion: Share Your Own Build
There’s something magical about transforming nostalgic devices into functioning tech for today. Whether you’re building a LEGO Mac or a custom Raspberry Wine box, it’s about celebrating the past while pushing the limits of the present. Share your builds with the world and explore how nostalgia and modern innovation can come together to create something entirely new.
